Cluster management
The Cluster Management pane allows you to view nodes, monitor resource utilization, and add nodes to your cluster.
Warning
Warning
Requirements
- For a high availability cluster in a production environment, configure Chef 360 Platform to store Courier job data with S3 storage.
Cluster topology
Your cluster topology determines how replicas are distributed and where workloads run. Select a topology based on your availability requirements and infrastructure.
The following table summarizes the available topologies:
| Topology | Minimum nodes | Fault tolerance | Best for |
|---|---|---|---|
| Hyperconverged non-HA | 1 | No | Lab and development |
| Hyperconverged HA | 3 | Yes | Small HA deployments |
| Tiered HA | 6 | Yes | Medium deployments |
| Hyperscale HA | 9 | Yes | Large deployments |
Select the cluster topology that matches your deployment.
For multi-node deployments, add nodes to the cluster before deploying Chef 360 Platform. For single-node deployments (hyperconverged, non-HA), skip the add nodes step.
Hyperconverged non-HA
Use this topology for lab, development, or testing environments where high availability (HA) isn’t required.
In this topology:
- Deploy 1 to 3 nodes with all roles (controller, backend, frontend) running on each node.
- Each service runs a single replica, so if a node fails, services become unavailable.
- All nodes have identical configurations and run the same workloads.
This is the simplest deployment option and requires the least resources. Choose this topology when you’re evaluating Chef 360 Platform or building non-production environments.
Hyperconverged HA
Use this topology for small production deployments that require high availability with minimal infrastructure.
In this topology:
- Deploy a minimum of 3 nodes with all roles (controller, backend, and frontend) running on each node.
- Each service runs 3 replicas distributed across nodes, providing fault tolerance.
- All nodes have identical configurations and share the same workloads.
- The cluster can tolerate the loss of 1 node while maintaining availability.
Choose this topology when you have homogeneous hardware and want a simple HA setup without managing separate node types.
Tiered HA
Use this topology for medium-sized production deployments that benefit from separating the control plane and application workloads.
In this topology:
- Deploy a minimum of 6 nodes: 3 dedicated controller nodes and 3 or more worker nodes.
- Controller nodes only run Kubernetes control plane components and don’t handle application workloads.
- Worker nodes run backend and frontend roles. These roles can overlap on the same node, or you can dedicate nodes to each role.
- Separating controllers from workers improves stability and makes troubleshooting easier.
Choose this topology when you want better resource isolation between cluster management and application workloads or when you plan to scale worker nodes independently.
Hyperscale HA
Use this topology for large production deployments that require maximum isolation and scalability.
In this topology:
- Deploy a minimum of 9 nodes: 3 dedicated controller nodes, 3 dedicated backend nodes, and 3 dedicated frontend nodes.
- Each node type has a single dedicated role. Roles can’t overlap.
- Backend nodes handle stateful workloads like databases and require high-performance storage (NVMe recommended).
- Frontend nodes handle stateless workloads and user-facing services.
- This configuration provides the highest level of isolation and allows independent scaling of each tier.
Choose this topology when you have heterogeneous hardware optimized for different workload types, or when you need to scale controllers, backends, and frontend independently.
Node roles
Roles determine which workloads run on each node. Before adding nodes, understand the available roles so you can plan your cluster and assign nodes correctly.
| Role | Description |
|---|---|
| controller | Runs Kubernetes control plane components. Required for cluster orchestration. |
| frontend | Handles stateless application workloads and user-facing services. |
| backend | Handles stateful workloads, such as databases. |
You can assign one or more roles to a node when joining it to a cluster. The roles you assign depend on your chosen topology:
- Hyperconverged non-HA and HA: All roles can overlap on the same nodes.
- Tiered HA: Controllers are dedicated; backend and frontend can overlap.
- Hyperscale HA: All roles must be on dedicated nodes.
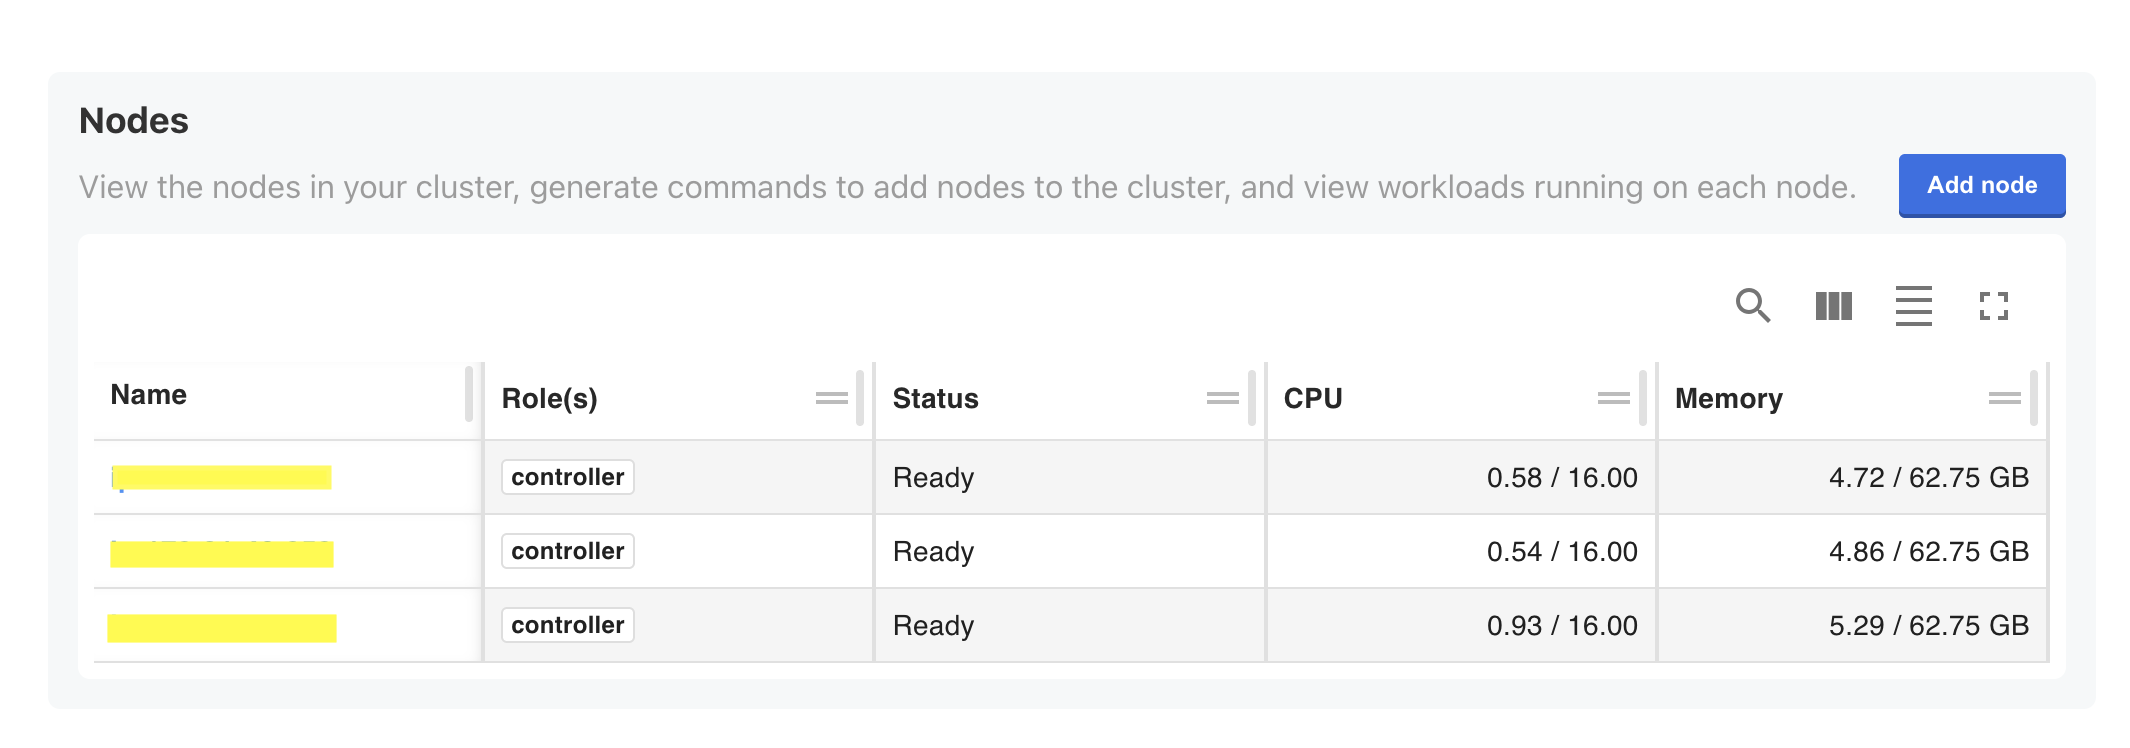
Cluster overview
The Cluster Management page displays all nodes in your cluster. For each node, you can view the following:
- Assigned role
- Node status
- Current CPU utilization
- Current memory utilization
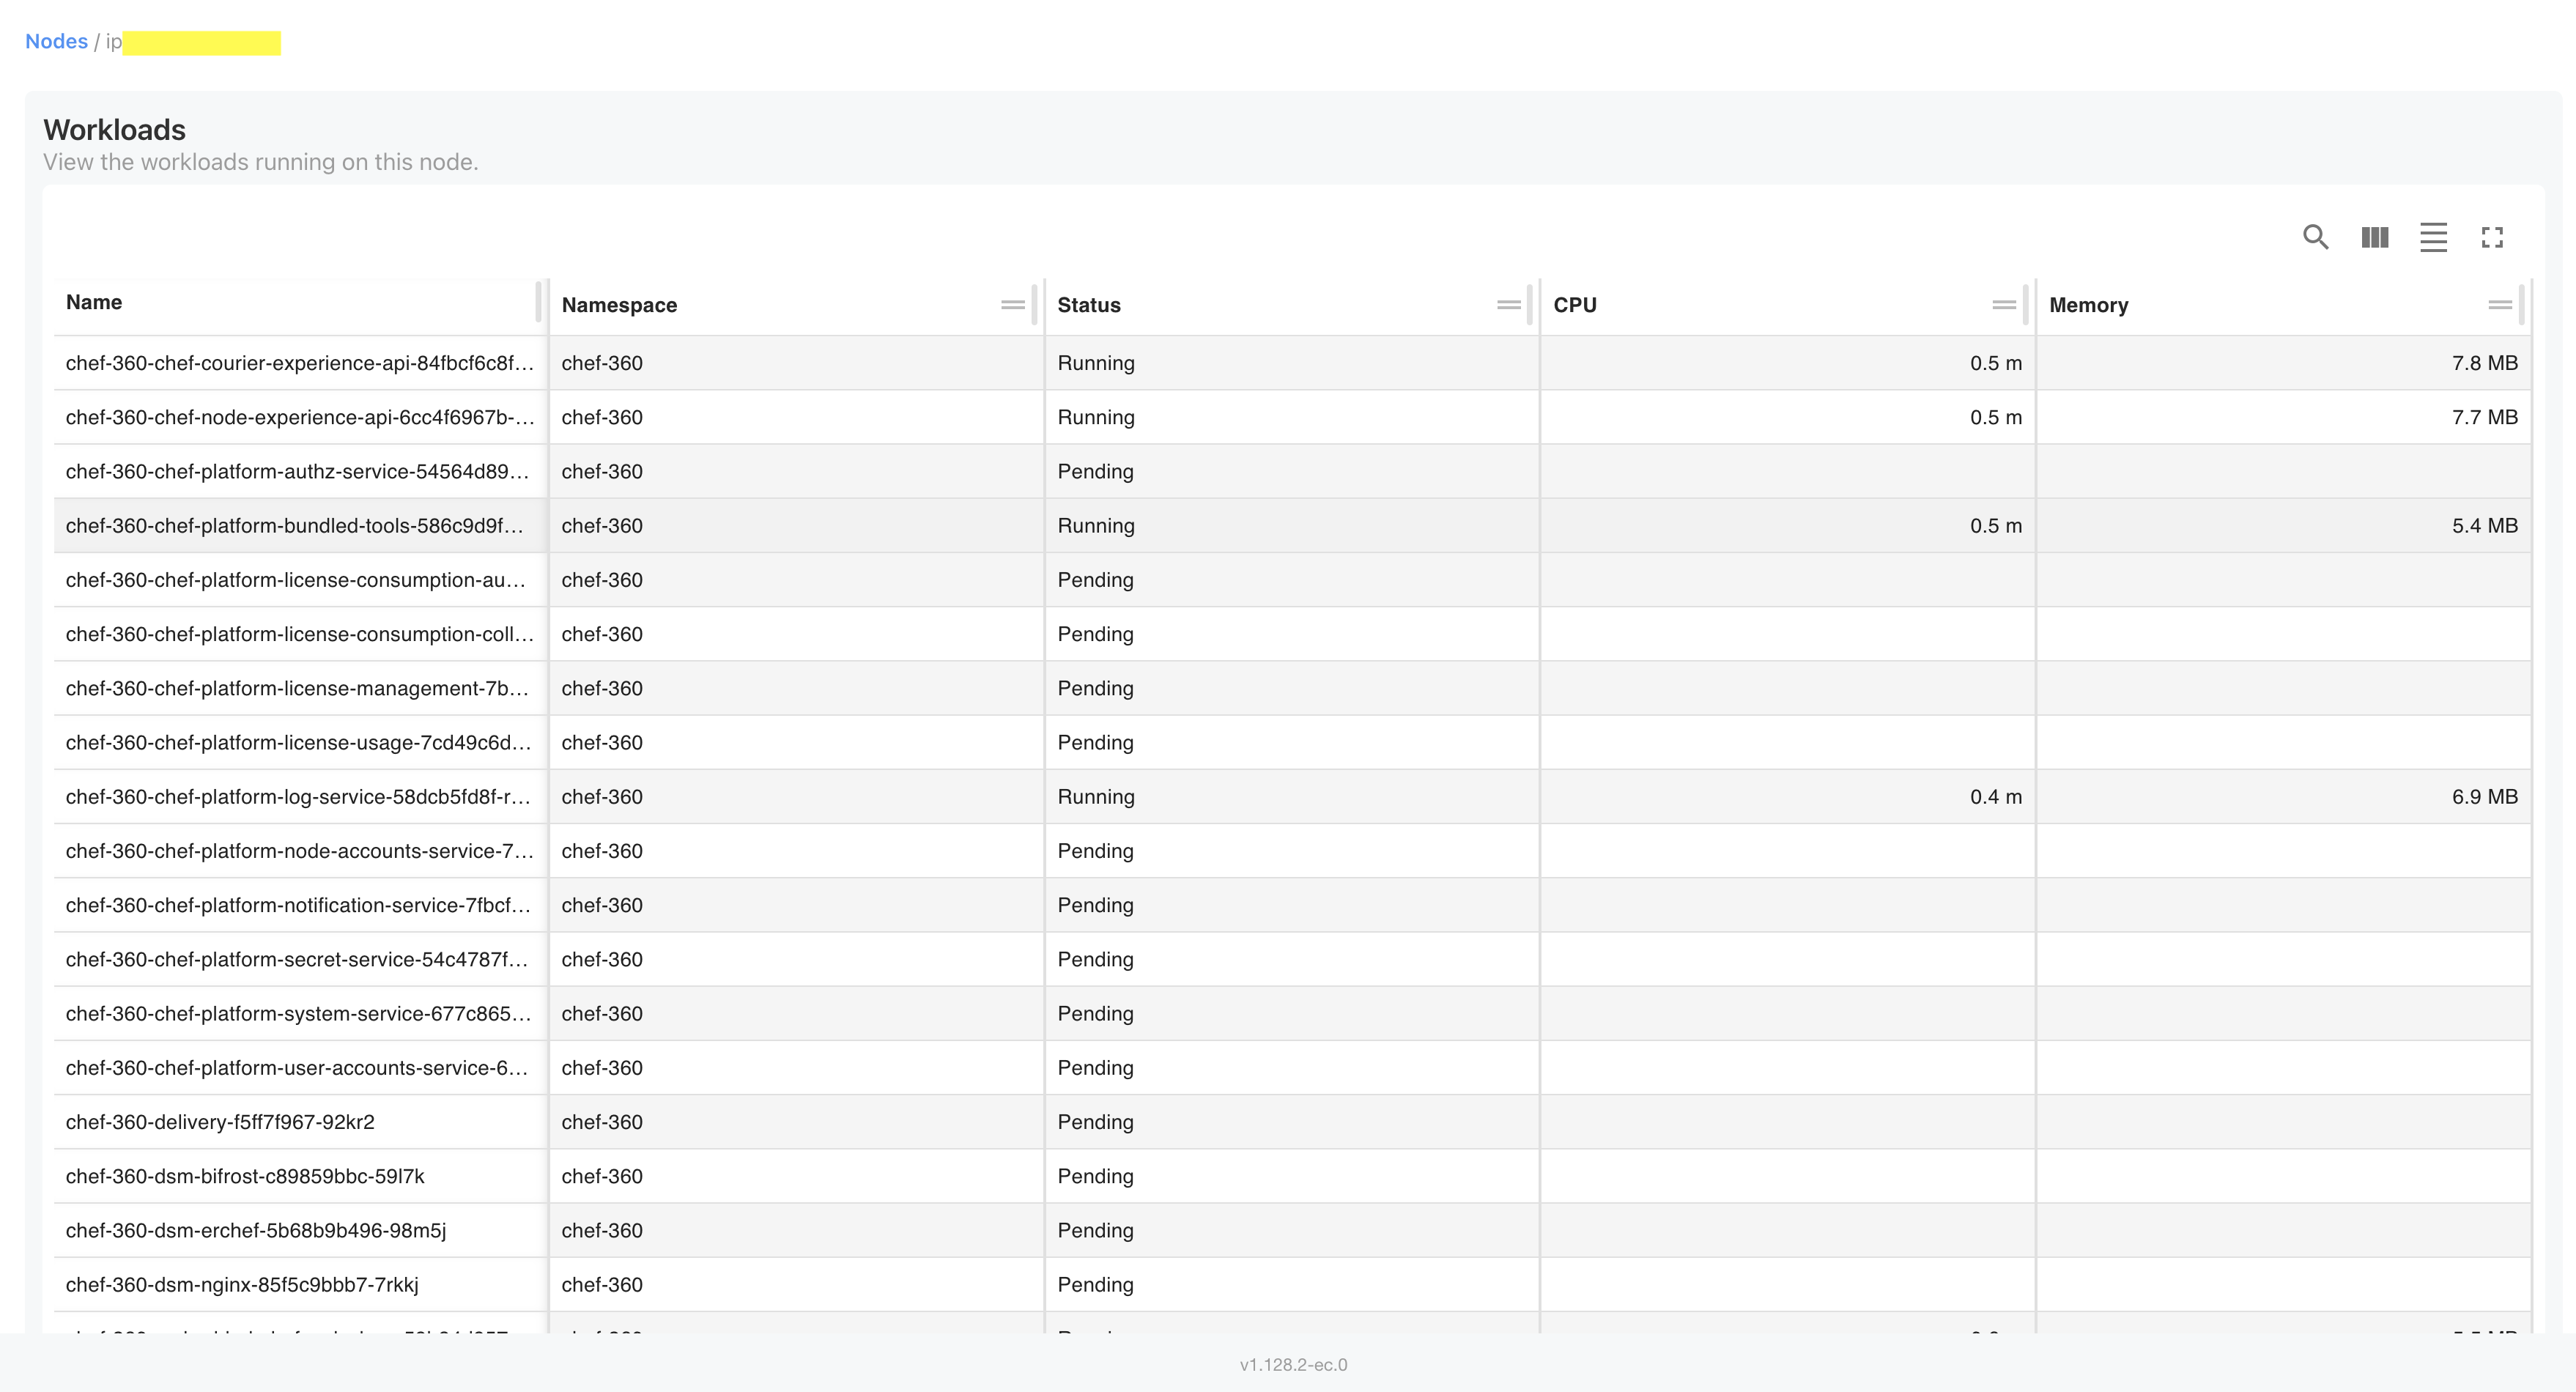
View node details
Select a node to view all services running on that node, along with its namespace, status, and current CPU and memory utilization. This screen is useful for configuration, scaling, and diagnosis of a cluster.
Add nodes to a multi-node cluster
After installing Chef 360 Platform on the first node, you can add more nodes to create a multi-node cluster. The Admin Console generates the commands you need to download the installer and join each node.
Before you begin, verify that:
- You use the same Chef 360 Platform installer for every node in the cluster. Using a different installer from a different release makes the cluster unstable.
- Each node meets the hardware requirements.
- Required ports are open between the new node and existing cluster nodes.
To add a node to a cluster:
In the Admin Console, select Cluster Management at the top. When initially installing, this page automatically appears after logging into the Admin Console.
Select Add node.
In the Add a Node dialog, select one or more roles for this node based on your cluster topology.

SSH into the machine you want to join to the cluster.
Download the binary on the new node:
curl https://<PRIMARY_NODE_IP>:30000/api/v1/embedded-cluster/binary -o chef-360.tgzIf you configured Chef 360 Platform to use self-signed certificates, use the
-k(--insecure) option.Extract the binary:
curl https://<PRIMARY_NODE_IP>:30000/api/v1/embedded-cluster/binary -o chef-360.tgz
tar -xvf chef-360.tgz
Join the node to the cluster by running the
joincommand:sudo ./chef-360 join <PRIMARY_NODE_IP>:30000 <JOIN_TOKEN>After you join the third controller node, enter
Yto enable high availability.Return to the Cluster Management page in the Admin Console and wait for the node status to change to Ready.
Repeat the process for all nodes required by your topology.