Teams
Overview
A Chef Automate team is an assigned grouping of users. You can import existing teams into Chef Automate with Microsoft AD (LDAP), generic LDAP, or SAML. You can also create local Chef Automate teams that are independent of LDAP or SAML.
Permission for the iam:teams action is required to interact with teams. Any user that’s part of the admins team or the Administrator policy will have this permission. Otherwise, IAM custom policies can be created to assign this permission.
Managing Local Teams
Admins Team
Chef Automate comes with an Admins team by default. Local users can be added directly to this team, which assigns admin permissions to users.
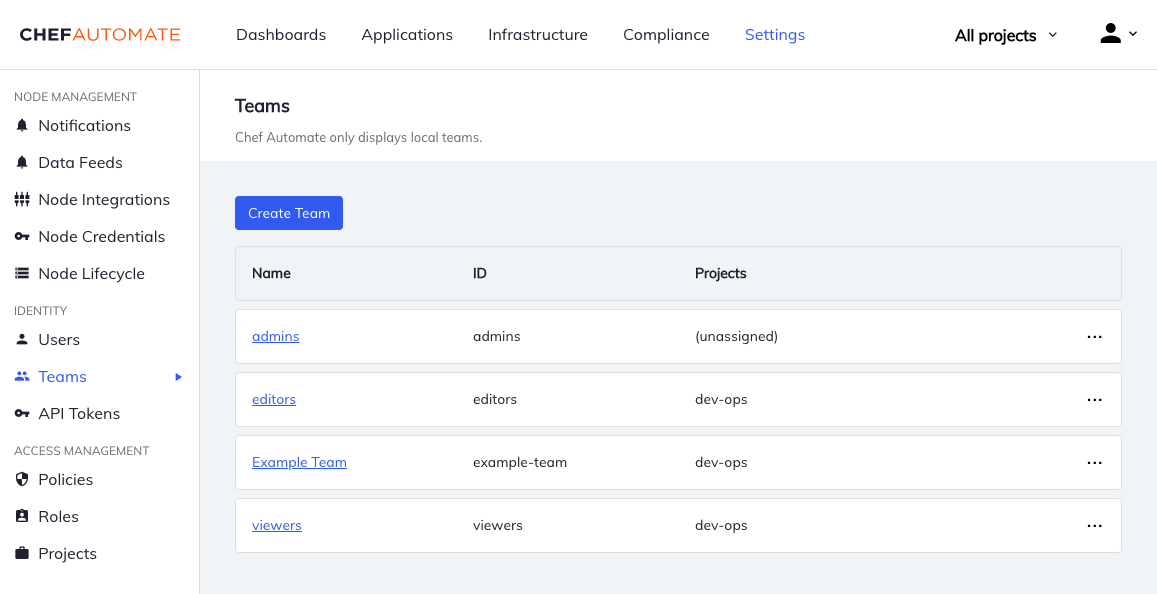
Creating Local Teams
Navigate to Teams in the Settings tab. Select the Create Team button, which opens a dialog box to enter the team’s Name and optionally assign the team to one or more Projects. A team ID automatically generates upon creation. If you would like to change the team ID, use the Edit ID button.
Adding Local Users to Teams
To add local users to a team, navigate to Teams from the Settings tab and locate the team. Navigate to the team’s page, and then use the Add Users button.
Removing Local Users from Teams
To remove local users from a team, navigate to Teams from the Settings tab and locate the team. Navigate to the team’s page, locate the user to remove, and then use the menu at the end of the table row to remove the user.
Changing Team Details
Teams have both a team name and the projects that a team belongs to. To change, navigate to Teams from the Settings tab, select an individual team, and then navigate to the Details tab.
Deleting Local Teams
Navigate to Teams in the Settings tab. Then open the menu at the end of the table row and select Delete Team.