Manage Roles

Warning
Chef Manage is deprecated and no longer under active development. It’s supported on Chef Automate installations up to version 1.8 and replaced by Chef Automate 2.0. Contact your Chef account representative for information about upgrading your system. See our Automate documentation to learn more about Chef Automate 2.
This document is no longer maintained.
Note
Manage
Roles can be managed from the Chef management console web user interface.
Add Role
To add a role:
Open the Chef management console.
Click Policy.
Click Roles.
Click Create.
In the Create Role dialog box, enter the name of the role and a description.
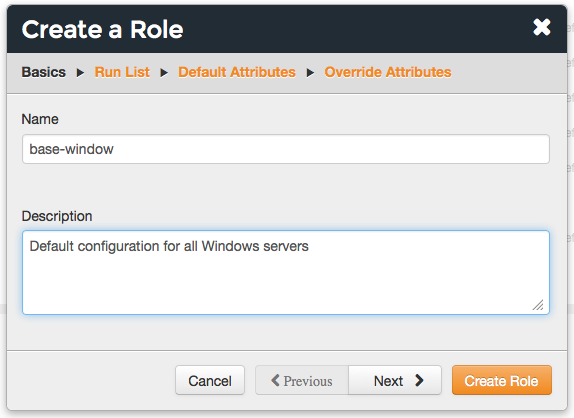
Click Next.
Optional. Build the run-list from the list of available roles and recipes:
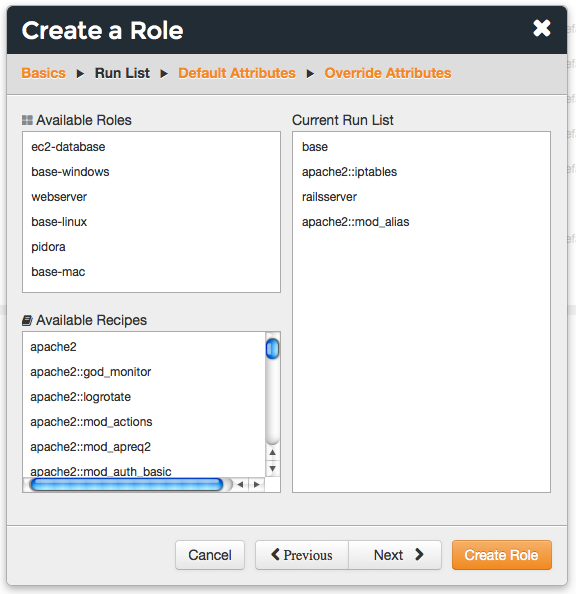
Click Next.
Optional. Add default attributes as JSON data:
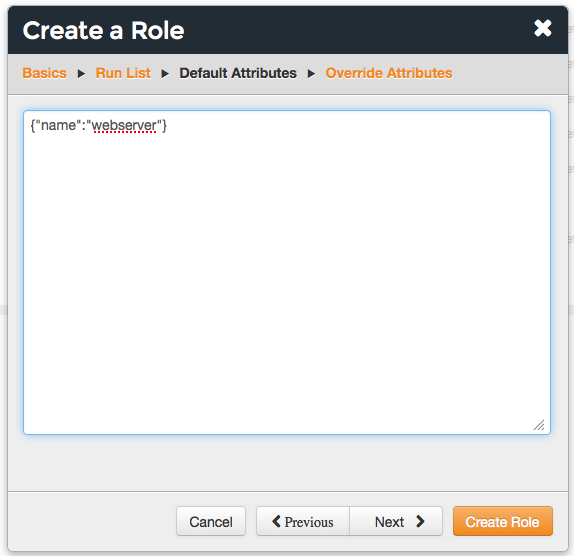
Click Next.
Optional. Add override attributes as JSON data:
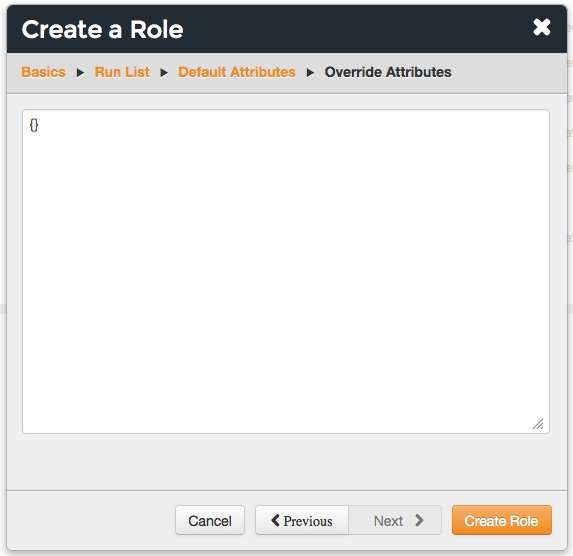
Click Create Role.
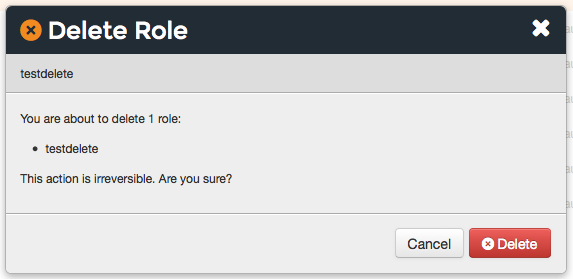
Delete Role
To delete a role:
Open the Chef management console.
Click Policy.
Click Roles.
Select a role.
Click Delete.
View All Roles
To view all roles uploaded to the Chef Infra Server organization:
- Open the Chef management console.
- Click Policy.
- Click Roles.
Run-lists
A run-list defines all of the information necessary for Chef to configure a node into the desired state. A run-list is:
- An ordered list of roles and/or recipes that are run in the exact order defined in the run-list; if a recipe appears more than once in the run-list, Chef Infra Client won’t run it twice
- Always specific to the node on which it runs; nodes may have a run-list that’s identical to the run-list used by other nodes
- Stored as part of the node object on the Chef server
- Maintained using knife and then uploaded from the workstation to the Chef Infra Server, or maintained using Chef Automate
Edit Role Run-list
To edit the run-list for a role:
Open the Chef management console.
Click Policy.
Click Roles.
Select a role.
Click Edit Run List.
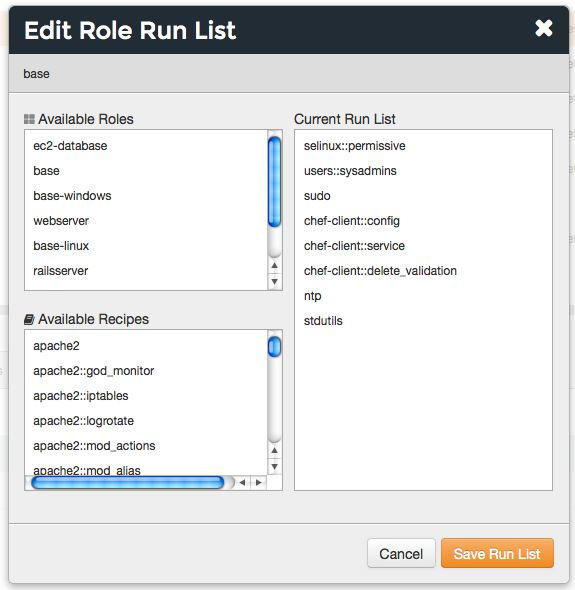
Make your changes.
Click Save Run List.
Default Attributes
Adefault attribute is automatically reset at the start of every Chef
Infra Client run and has the lowest attribute precedence. Use default
attributes as often as possible in cookbooks.Edit Default Attributes
To edit default attributes for a role:
Open the Chef management console.
Click Policy.
Click Roles.
Select a role.
Click the Attributes tab.
Under Default Attributes, click Edit.
In the Edit Role Attributes dialog box, enter the JSON data that defines the attribute (or attributes).
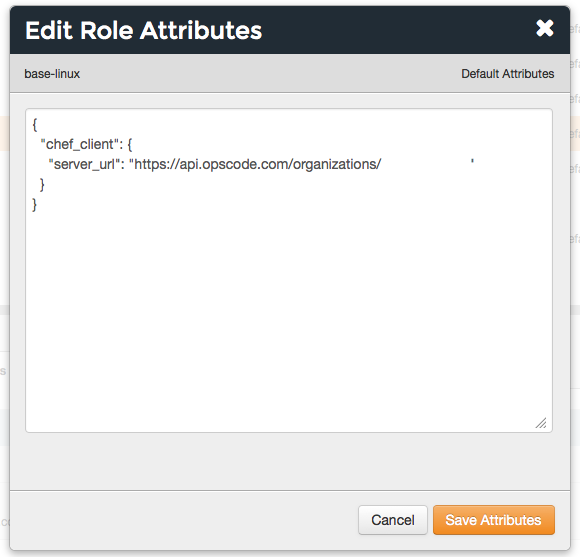
Click Save Attributes.
View Default Attributes
To view default attributes for a role:
- Open the Chef management console.
- Click Policy.
- Click Roles.
- Select a role.
- Click the Attributes tab.
Override Attributes
Anoverride attribute is automatically reset at the start of every
Chef Infra Client run and has a higher attribute precedence than
default, force_default, and normal attributes. An override
attribute is most often specified in a recipe, but can be specified in
an attribute file, for a role, and/or for an environment. A cookbook
should be authored so that it uses override attributes only when
required.Edit Override Attributes
To edit override attributes for a role:
Open the Chef management console.
Click Policy.
Click Roles.
Select a role.
Click the Attributes tab.
Under Override Attributes, click Edit.
In the Edit Role Attributes dialog box, enter the JSON data that defines the attribute (or attributes).
Click Save Attributes.
View Override Attributes
To view role details:
- Open the Chef management console.
- Click Policy.
- Click Roles.
- Select a role.
- Click the Details tab.
Permissions
Permissions are used in the Chef Infra Server to define how users and groups can interact with objects on the server. Permissions are configured for each organization.Chef Infra Server includes the following object permissions:
| Permission | Description |
|---|---|
| Delete | Use the Delete permission to define which users and groups may delete an object. This permission is required for any user who uses the knife [object] delete [object_name] argument to interact with objects on the Chef Infra Server. |
| Grant | Use the Grant permission to define which users and groups may configure permissions on an object. This permission is required for any user who configures permissions using the Administration tab in the Chef management console. |
| Read | Use the Read permission to define which users and groups may view the details of an object. This permission is required for any user who uses the knife [object] show [object_name] argument to interact with objects on the Chef Infra Server. |
| Update | Use the Update permission to define which users and groups may edit the details of an object. This permission is required for any user who uses the knife [object] edit [object_name] argument to interact with objects on the Chef Infra Server and for any Chef Infra Client to save node data to the Chef Infra Server at the conclusion of a Chef Infra Client run. |
Set
To set permissions list for a role object:
- Open the Chef management console.
- Click Policy.
- Click Roles.
- Select a role.
- Click the Permissions tab.
- For each group listed under Name, select or de-select the Read, Update, Delete, and Grant permissions.
Update
To update the permissions list for a role object:
- Open the Chef management console.
- Click Policy.
- Click Roles.
- Select a role.
- Click the Permissions tab.
- Click the + Add button and enter the name of the user or group to be added.
- Select or de-select Read, Update, Delete, and Grant to update the permissions list for the user or group.
View
To view permissions for a role object:
- Open the Chef management console.
- Click Policy.
- Click Roles.
- Select a role.
- Click the Permissions tab.
- Set the appropriate permissions: Delete, Grant, Read, and/or Update.