AWS Marketplace
Chef Automate is an enterprise platform that allows developers, operations, and security engineers to collaborate on application and infrastructure changes with speed and at scale. Chef Automate provides actionable insights across data centers and cloud providers, wherever your nodes live.
Chef Automate is the center of the modern Chef platform, providing users with a single source of truth for infrastructure, security, and application automation. The comprehensive dashboard offers real-time views of your configuration management activity. Chef Automate comes bundled with the latest Chef Infra Server, providing the core tools you need to manage your enterprise infrastructure. Data collection is enabled by default, allowing your nodes to report activity in real time. This instance is free for 60 days, or you can bring your own license (BYOL).
Use this instance with Chef Workstation installed on your laptop or a separate AWS instance.
Chef Workstation includes:
- Chef Infra Client
- Chef InSpec
- Chef Habitat
chefandknifecommand line tools- Testing tools, such as Test Kitchen and Cookstyle
- Everything else needed to author cookbooks and upload them to the Chef Infra Server.
Installation
Select Chef Automate in the AWS Marketplace.
The Chef Automate AWS deployment uses CloudFormation. Download the CloudFormation template or use the view the template in CloudFormation Designer
Every CloudFormation Stack deployment creates a new Virtual Private Cloud (VPC).
Note
Start Chef Automate with CloudFormation
Enter the following values for your deployment:
- Stack Name
Chef-Automate- EC2RootVolumeSize
Default: 40- Instance Type
Default: t2.xlarge- KeyName
- Enter your existing keypair.
- SecurityGroupCidrIp
0.0.0.0/0- SubnetCIDR
10.0.0.0/24- VpcCIDR
10.0.0.0/16
Select Next after entering these values.
Configure the CloudFormation stack options:
Create a tag for your stack with Key set to
Nameand Value toChef-automate-stack.Set permissions for your stack:
- Create an IAM role with
AmazonEC2FullAccessto enable resource creation using the CloudFormation template. - Once that role is created, select the IAM role from the dropdown menu.
- Create an IAM role with
Configure stack failure options:
AWS provides two stack-failure options:
- Roll back all stack resources
- In case of failure, it should rollback all created resources (
Default: Roll back all stack resources). - Preserve successfully provisioned resources
- In case of failure, it will rollback only failed resources.
Configure advanced options:
Set the stack policy.
The stack policy defines the update actions that can be performed on resources.
Default: No stack policy.Set the rollback configuration.
AWS CloudFormation will monitor the state of your application during stack creation and updating. For more information, see Amazon’s documentation on rollback triggers.
Configure notification options:
Create or attach an AWS Simple Notification Service (SNS) which will send email notifications about the stack creation process.
Set the stack creation options:
- Timeout
- If specified and stack creation isn’t completed in that time, CloudFormation will roll back the stack.
- Termination Protection
- Termination protection prevents a user from deleting a stack.
Select Next to create your Chef Automate deployment. This process can take several minutes.
For additional information about these options, see Amazon’s documentation on CloudFormation stack options.
Post-Installation
Navigate to the AWS deployment Outputs tab and locate the Chef Automate URL, user name, and password. You will need these in the next steps.

Open your browser and paste the Chef Automate URL, which will open an alert page.
Select Advanced and continue.
 .
.Enter your Username and Password and select Sign In.

Fill out the registration form and Accept the Chef License.
Select Register to enter Chef Automate.

Congratulations! You’ve started Chef Automate!

Add Chef Servers
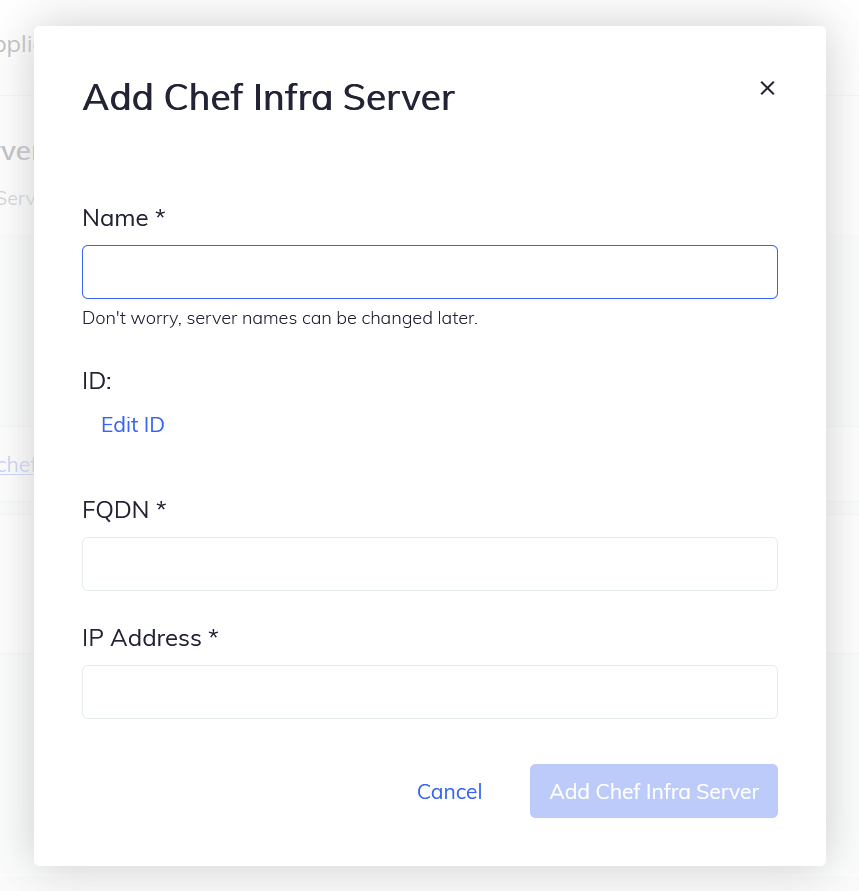
Add Chef-Server Details, select the Add Chef Infra Server Button.

Enter the server name, FQDN, and IP address. Then select Add Chef Infra Server to create the server.
- Name
- Add the name of the Chef Infra Server.
- FQDN
- Enter the same as the Chef Automate FQDN.
- IP Address
- Public IP address of the EC2 instance.
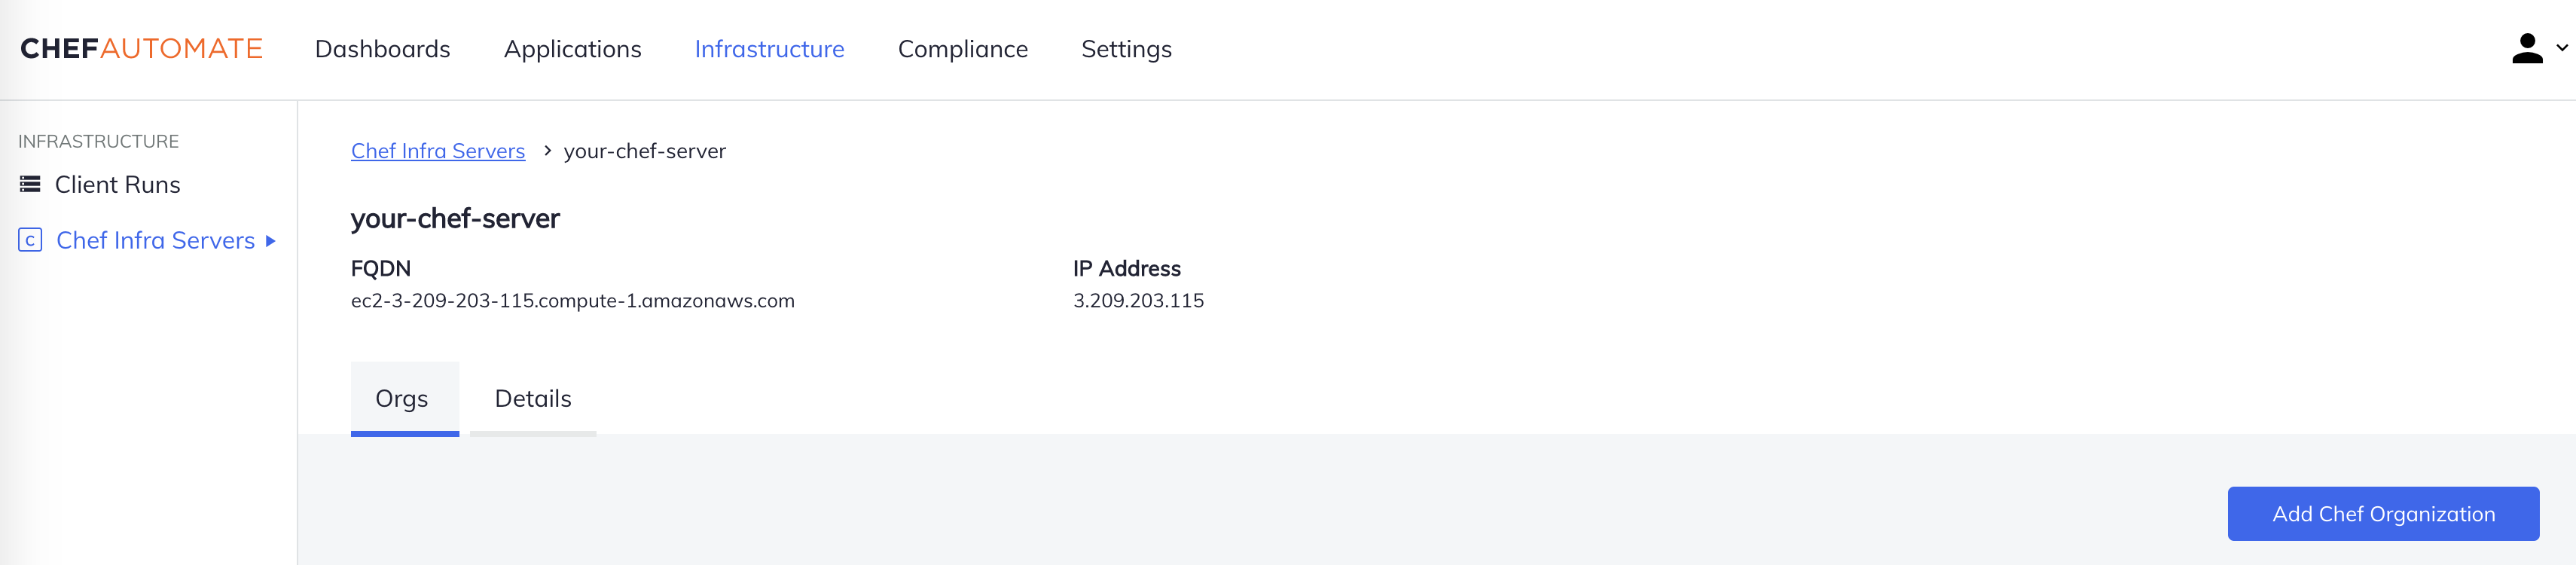
The Chef Infra Server will appear in the list of servers. Selecting the server allows you to view information about it.

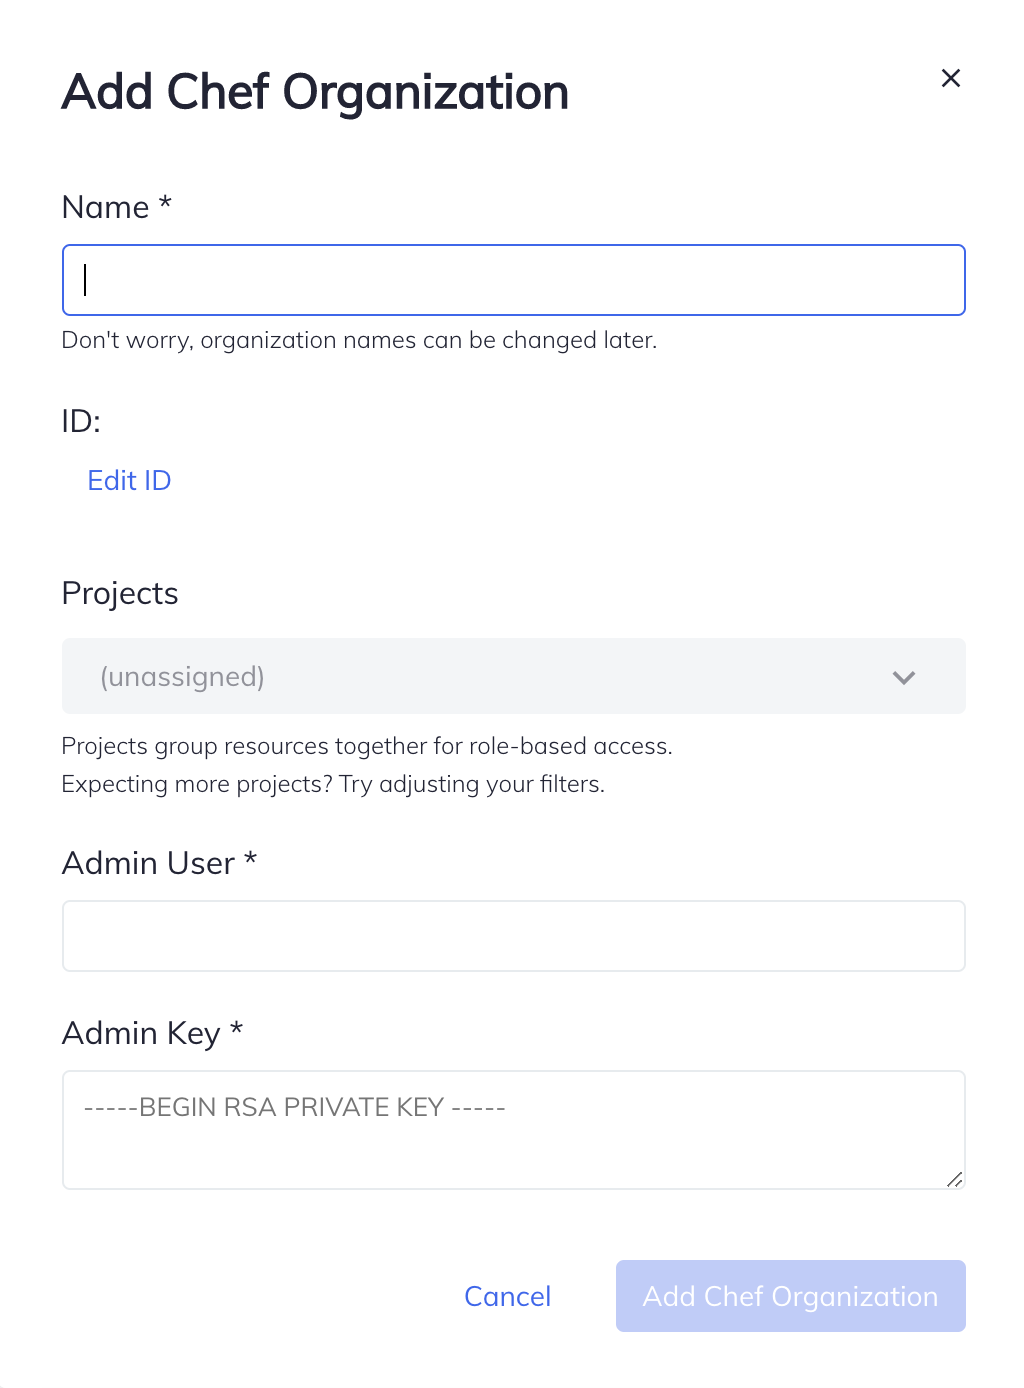
Select Add Chef Organization.
Enter the following information:
- Name
- demo
- Admin User
- admin
- Admin Key
- copy the key from starter kit
Select Add Chef Organization.
AWS Deployment Security
Update the AWS Deployment Security Group to require source IP addresses for a secure SSH connection.
Select the Instance Security group in the Resources tab of your AWS Chef Automate deployment.

Select the Security Group ID for your Chef Automate deployment.

Select Edit inbound rules.

Select Add rule and then SSH and enter the source IP.
Select Save rules to finish.
