Azure Marketplace
Chef Automate is an enterprise platform that allows developers, operations, and security engineers to collaborate on application and infrastructure changes with speed and at scale. Chef Automate provides actionable insights across data centers and cloud providers, wherever your nodes live.
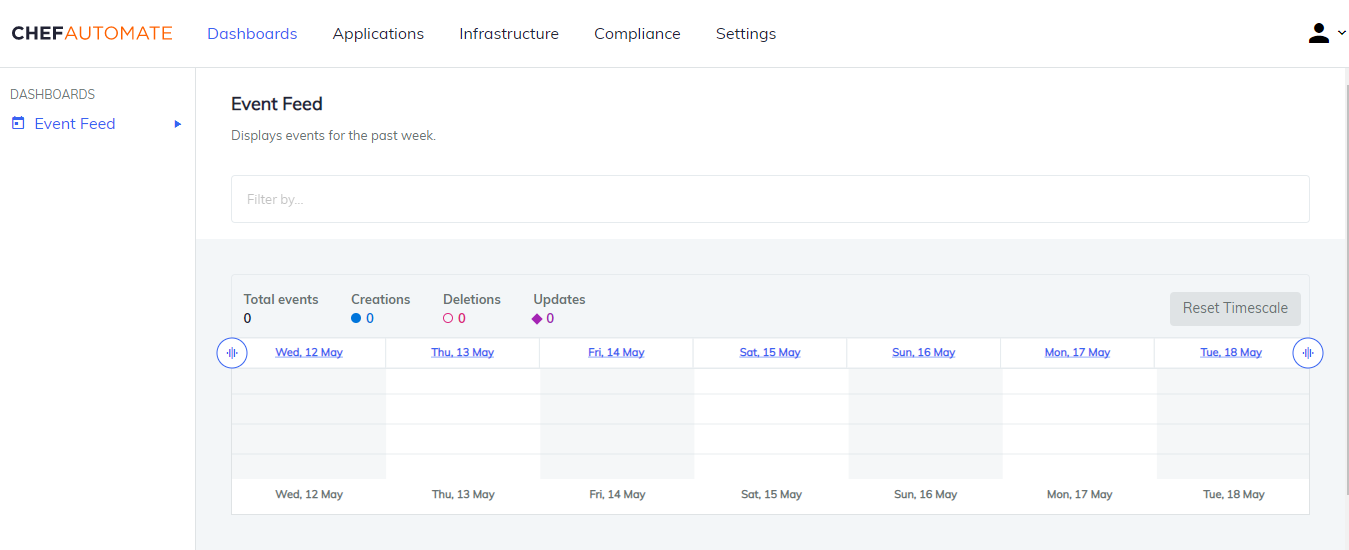
Chef Automate is the center of the modern Chef platform, providing users with a single source of truth for infrastructure, security, and application automation. The comprehensive dashboard provides real-time views of your configuration management activity. Chef Automate comes bundled with the latest Chef Infra Server, providing the core tools you need to manage your enterprise infrastructure. Data collection is enabled by default, allowing your nodes to report activity in real-time. This instance is free for 60 days or you can bring your own license (BYOL).
Use this instance with Chef Workstation installed on your laptop or a separate Azure instance.
Chef Workstation includes:
- Chef Infra Client
- Chef InSpec
- Chef Habitat
chefandknifecommand line tools- Testing tools, such as Test Kitchen and Cookstyle
- Everything else needed to author cookbooks and upload them to the Chef Infra Server.
Marketplace Deployment
The Marketplace Deployment is a test-level Chef Automate environment. This deployment requires an Azure account or subscription. You can provision Chef Automate directly from Azure. This Chef Automate solution requires that you bring your own license (BYOL). New users may try this solution for up to 60 days. Contact us at amp@chef.io to obtain a license.
Get Started
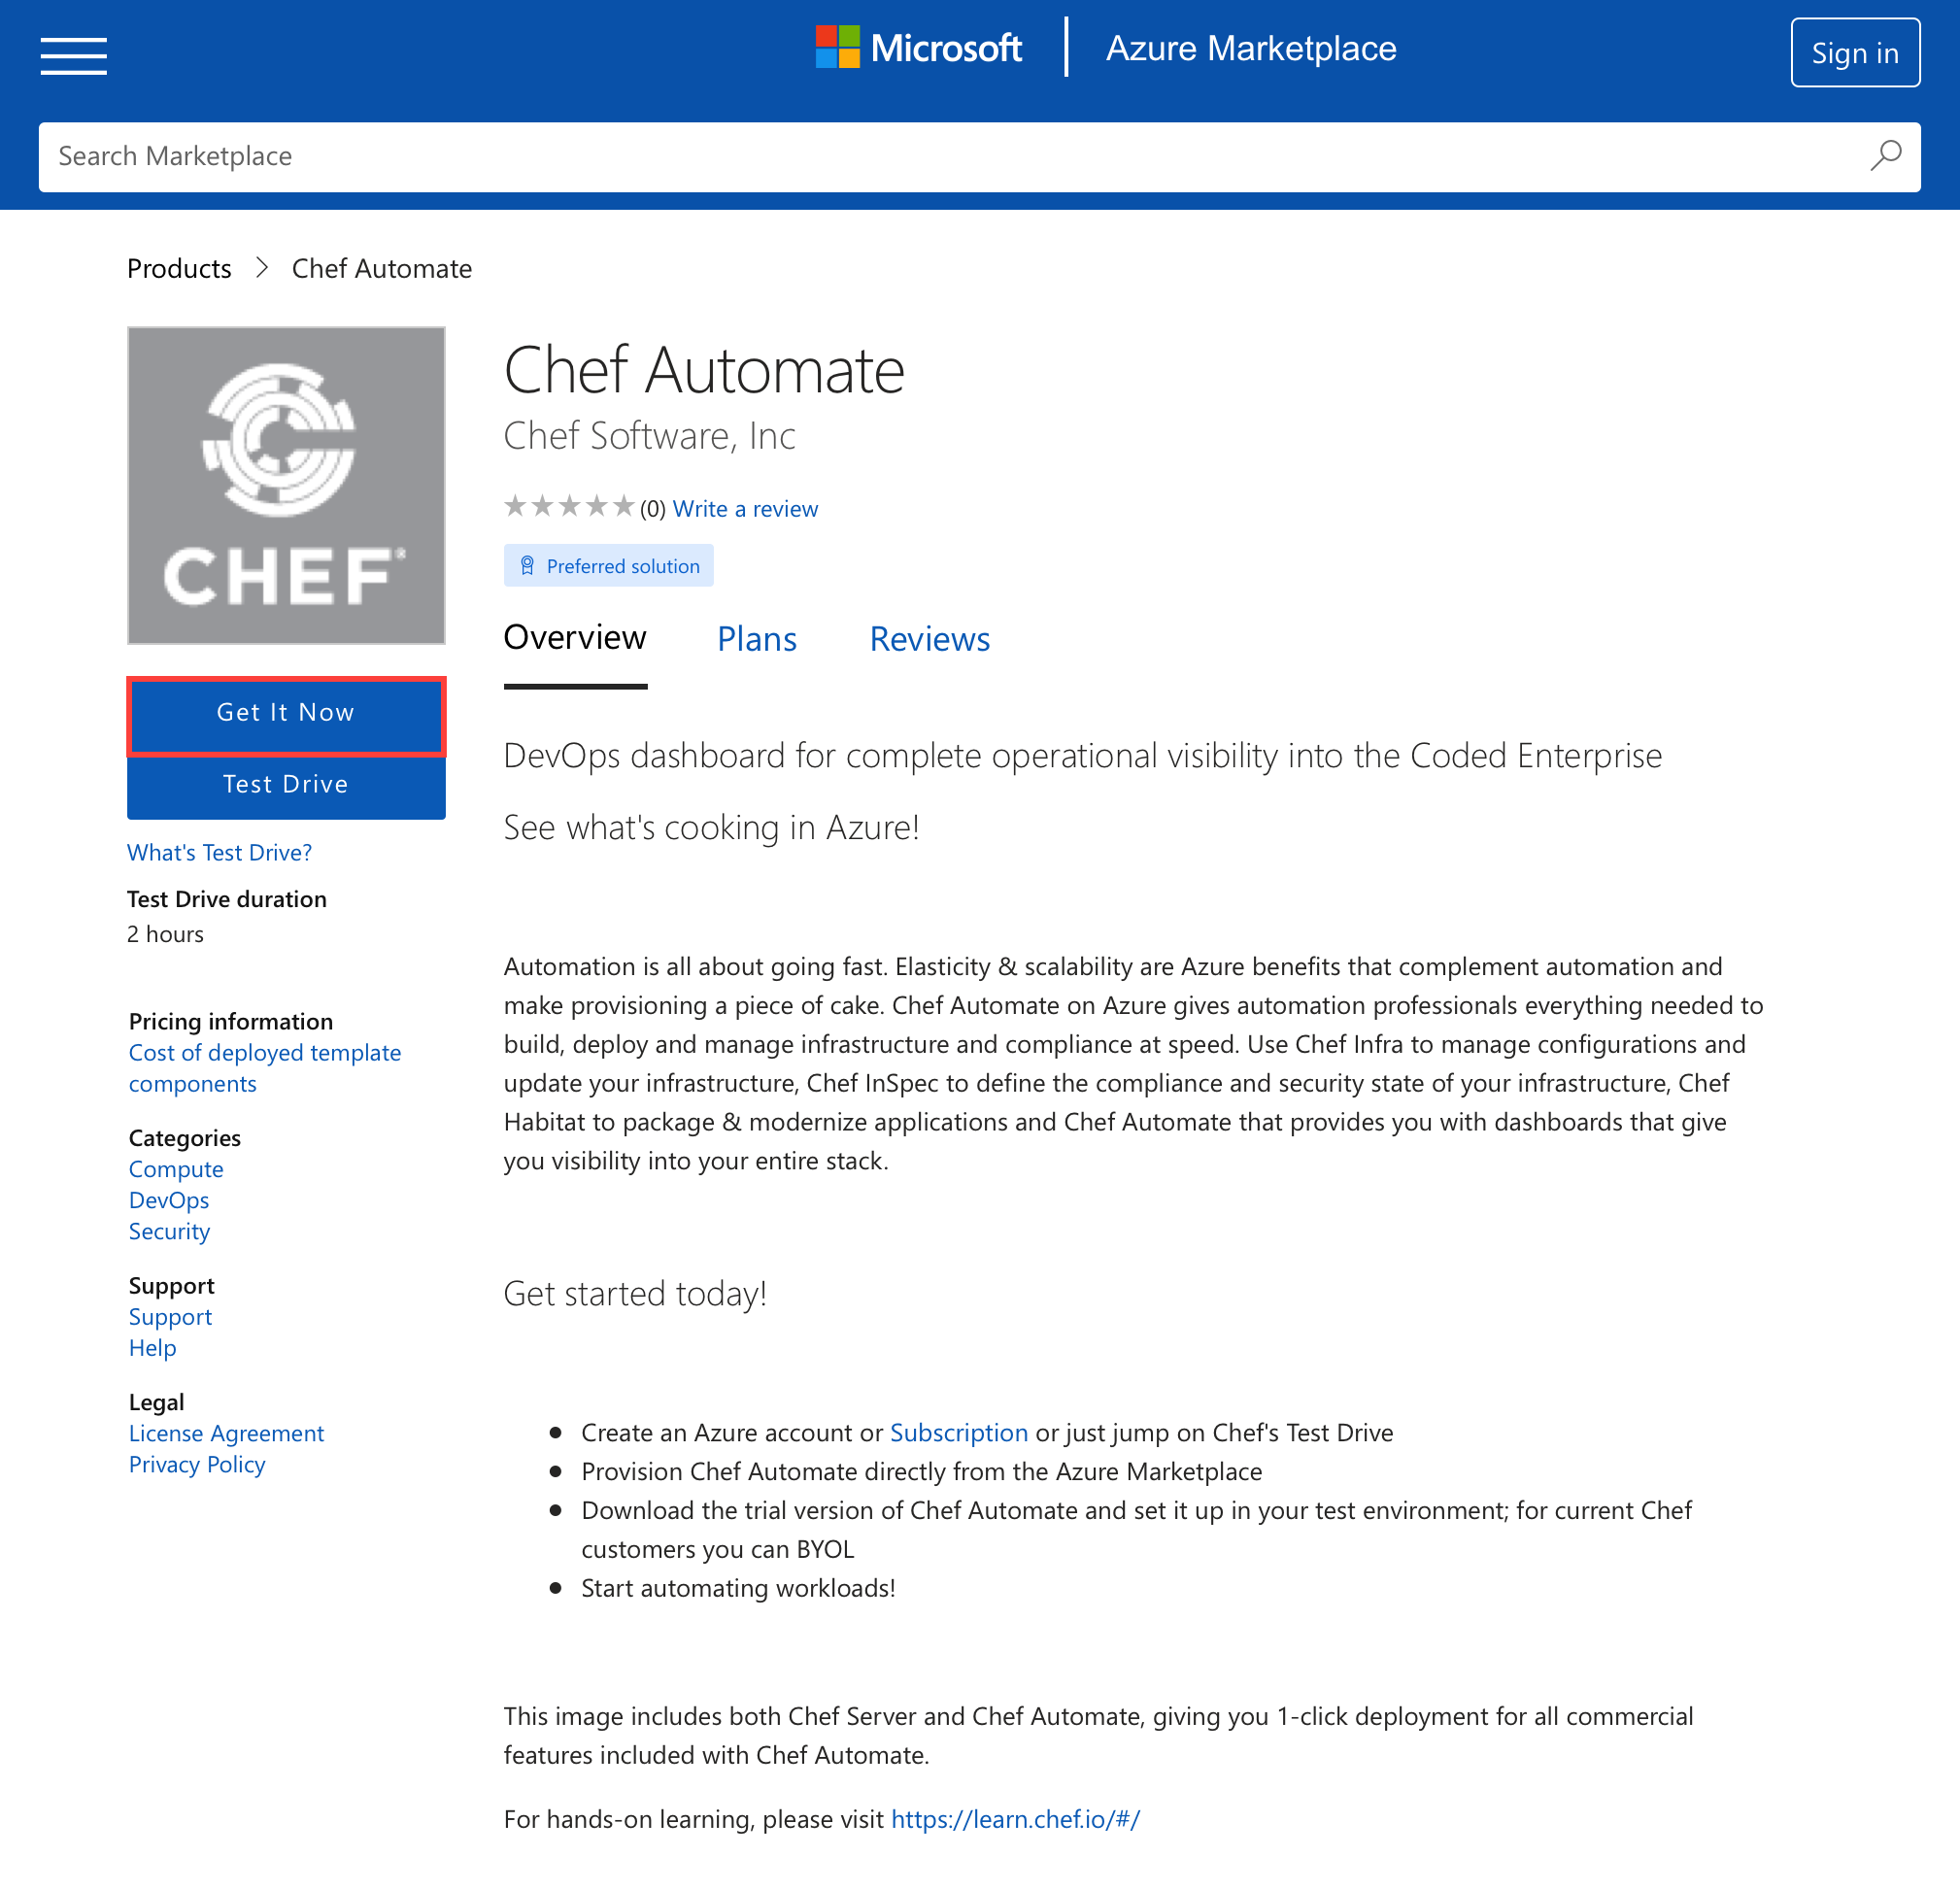
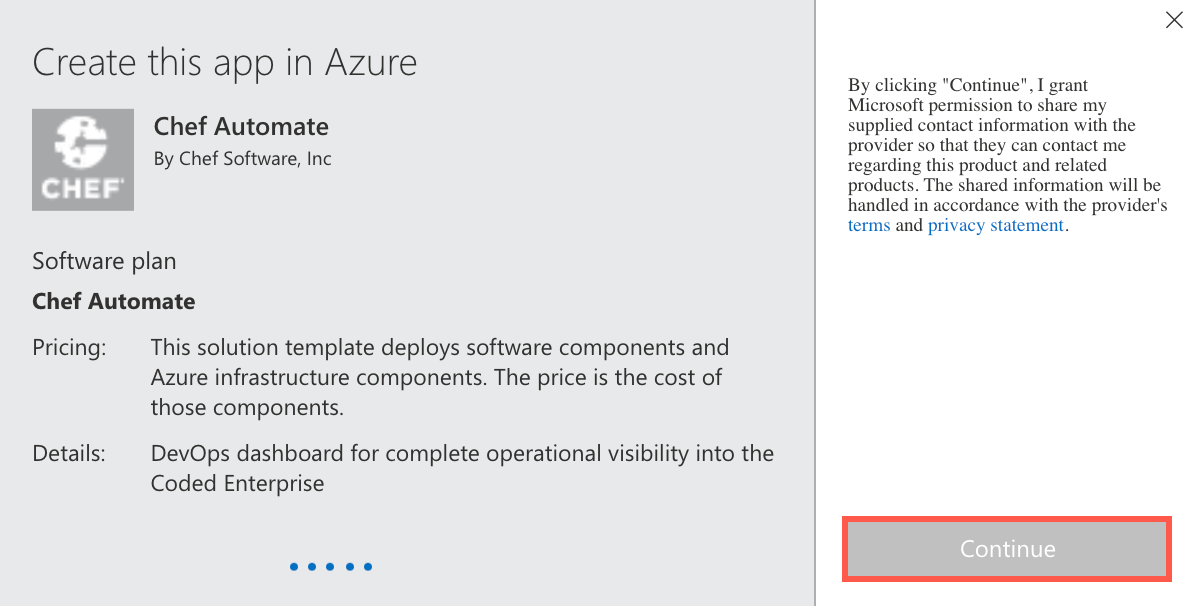
Navigate to Chef Automate on the Azure Marketplace.

Select Get it Now.
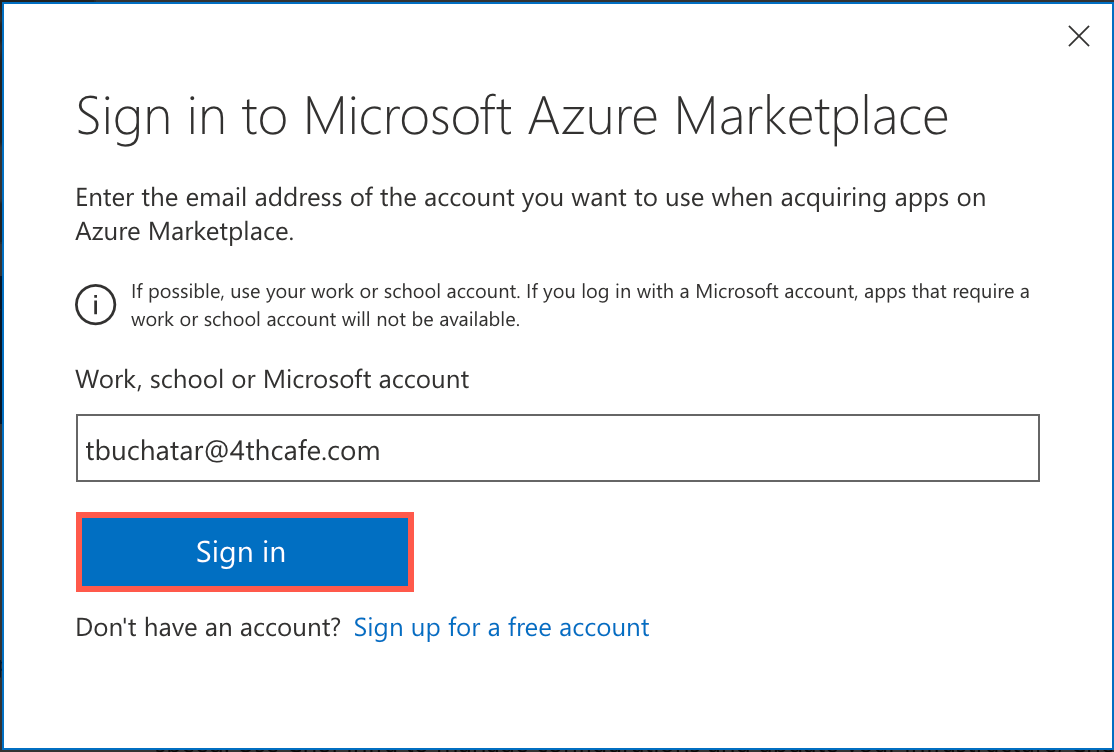
Sign in to your Microsoft account with your Microsoft account email address.
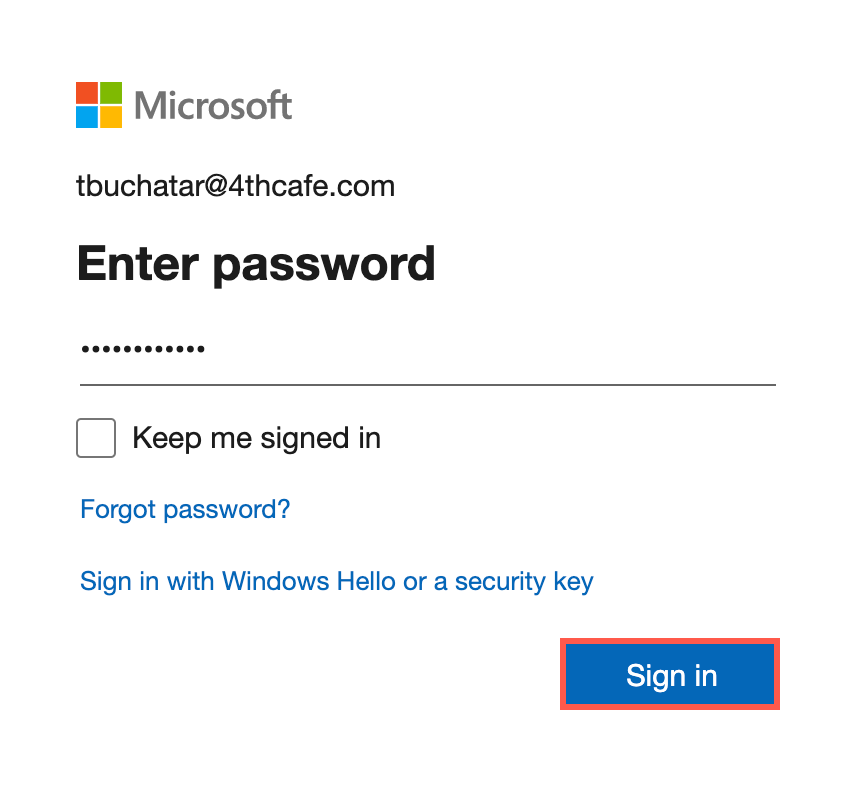
Enter your password and select Sign In.
Select Continue to accept the Microsoft information terms.
Deploy Automate
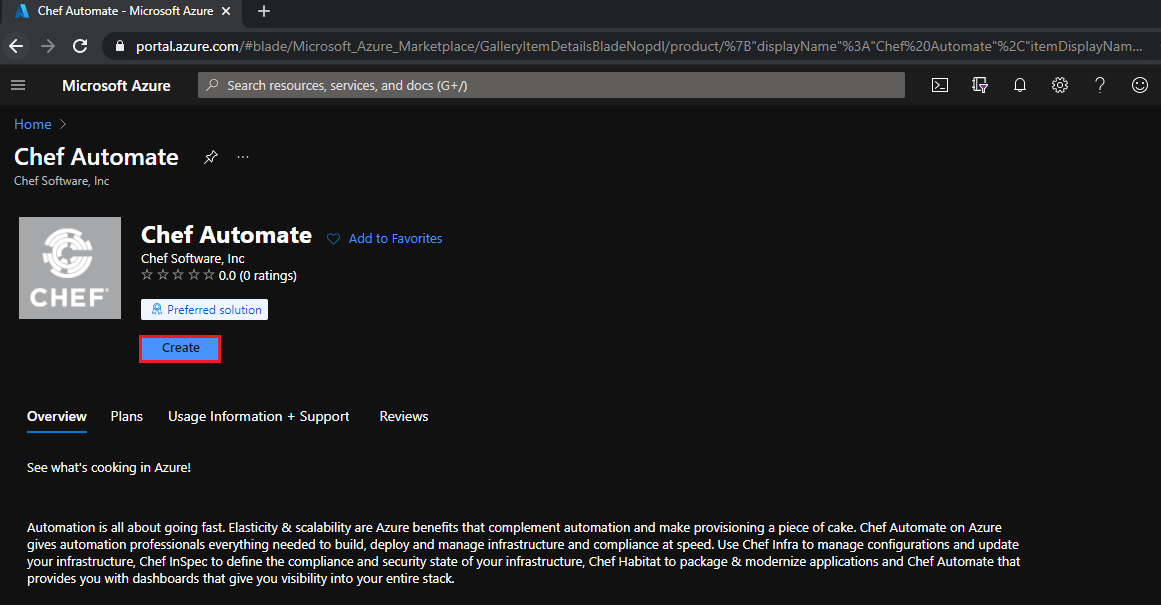
Select Create to create your Chef Automate instance.
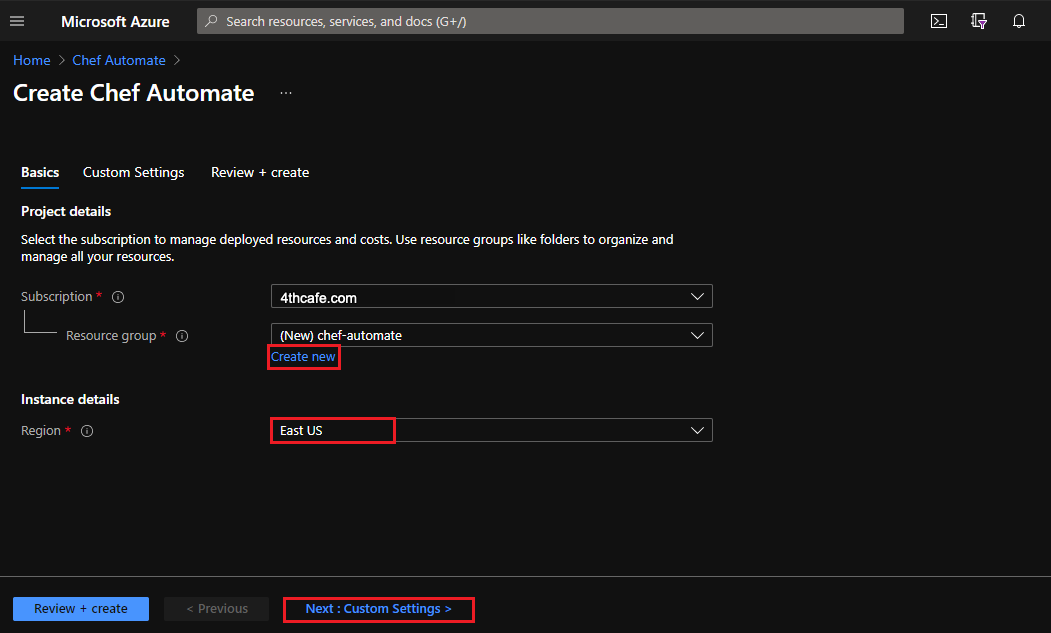
Enter the project details and select Next:
Subscription: Select the your subscriptionResource group: Create new or select an existing oneRegion: Select the region for your instance
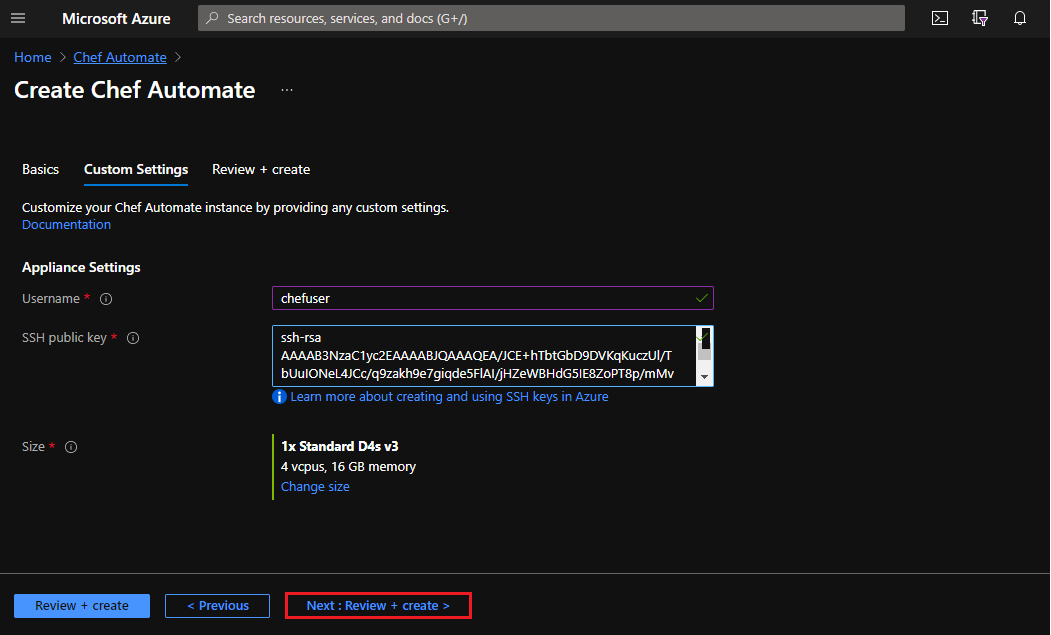
Enter your custom settings and select Next: Review + create to validate your configuration.
Username:Example: chefuserSSH public key: Copy your existing public key or make a new key pair.Size: The vCPUs and memory for your instance. The recommended minimum is 4vCPUs and 16GB memory. Example:Standard D4s v3
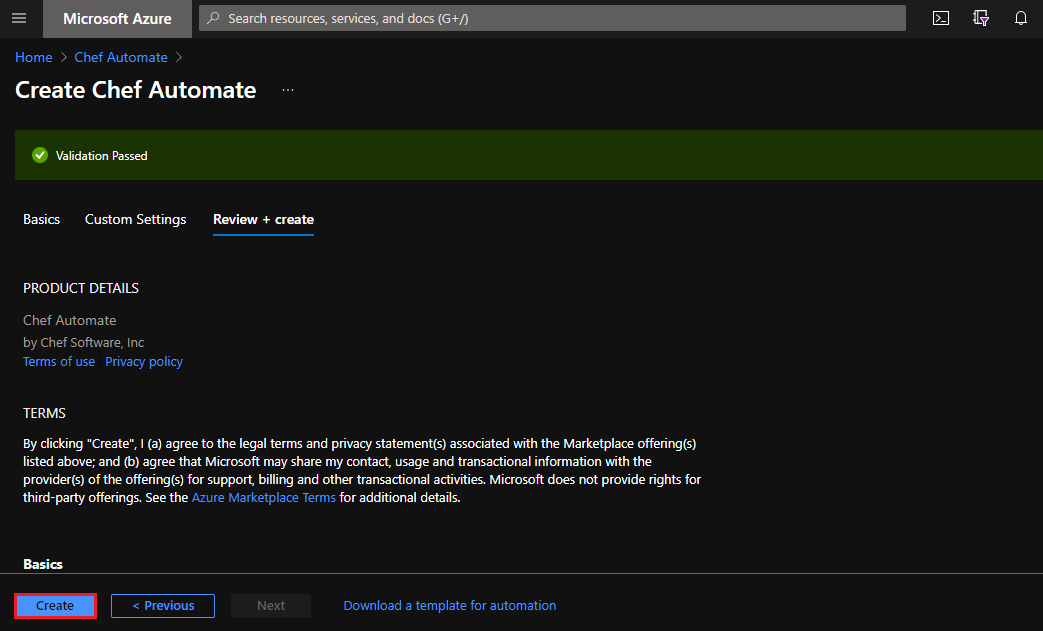
Review your validated configuration and select Create to deploy Chef Automate.
Chef Automate takes about 15 minutes to deploy.
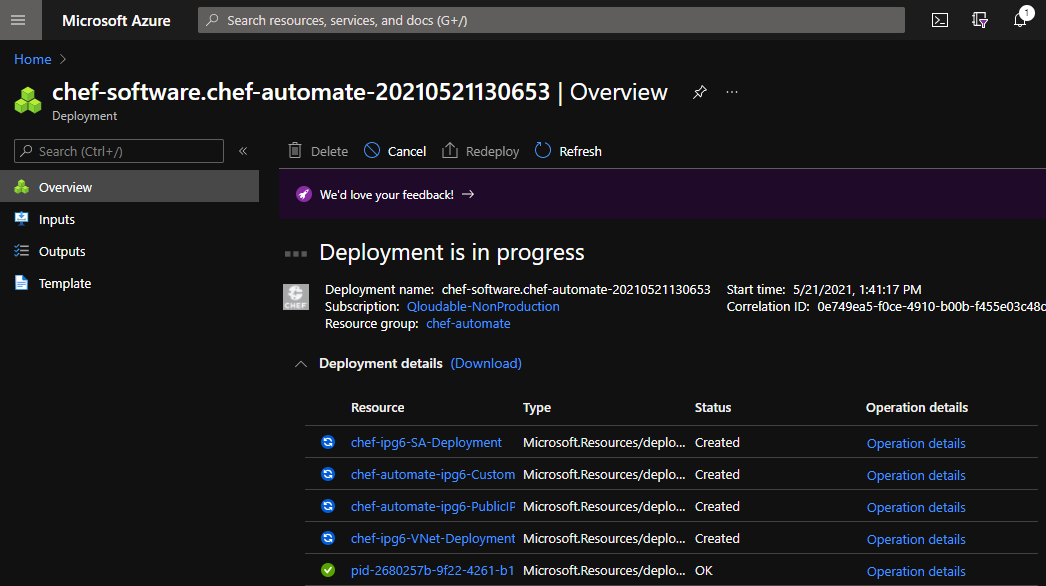
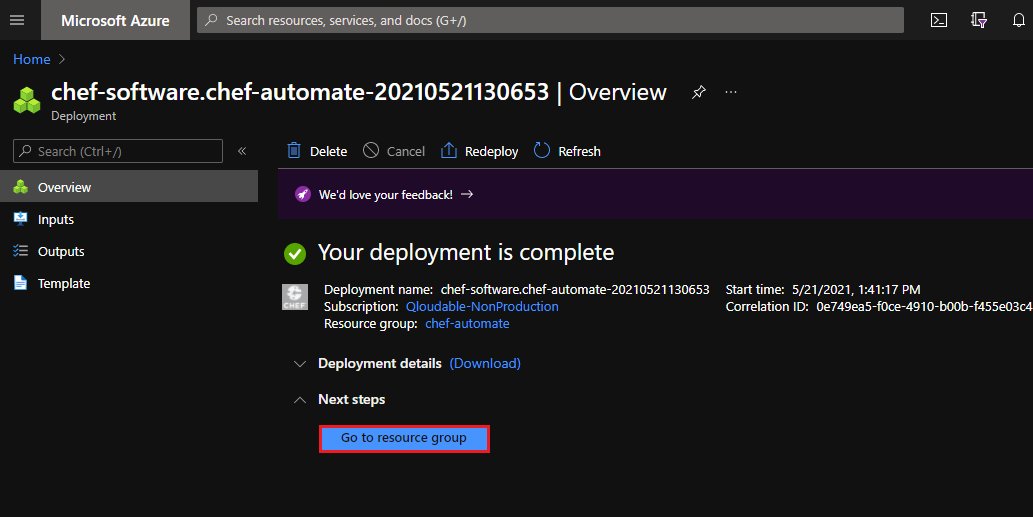
Once the Chef Automate deployment completes, select Go to resource group.
Connect
On the Resource group page for your installation, select the Chef Automate virtual machine (VM), which is named
RESOURCE-GROUP-ipg6-VM.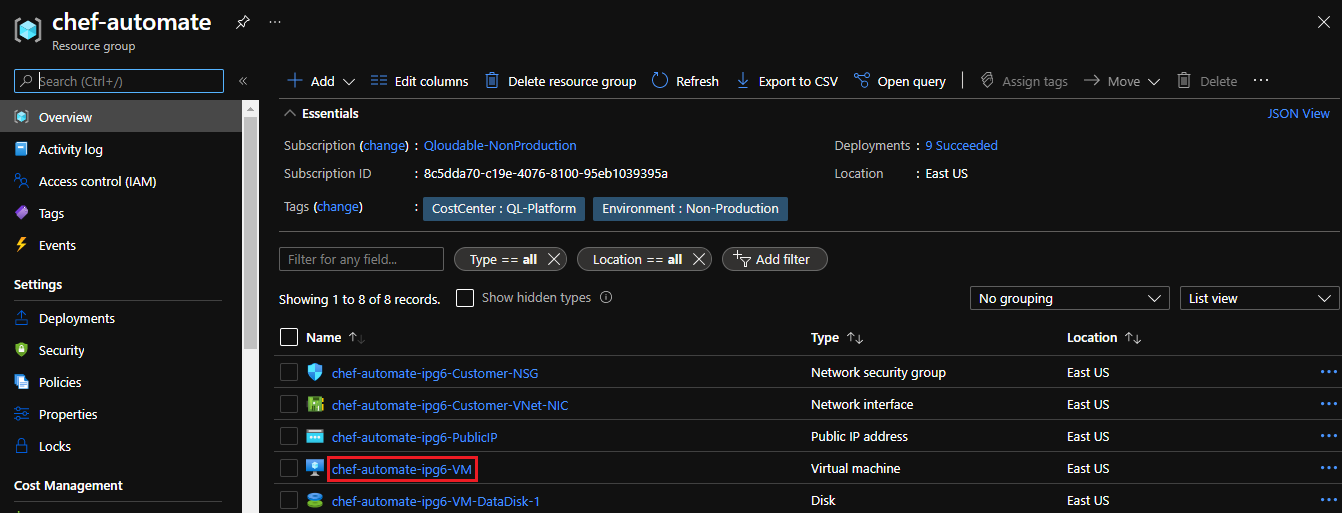
Locate and copy the
Public IPon the Virtual machine page. You will use this to connect to your VM.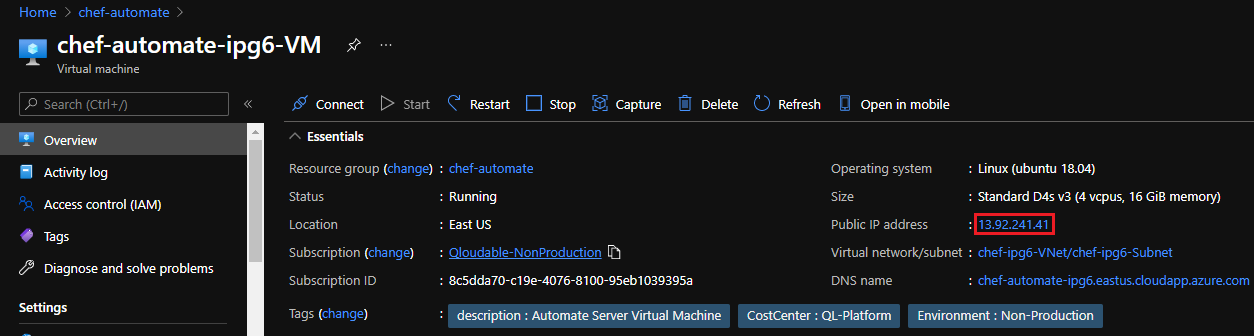
From the command line, connect to your VM:
ssh -i chefkey.pem chefuser@13.92.241.41
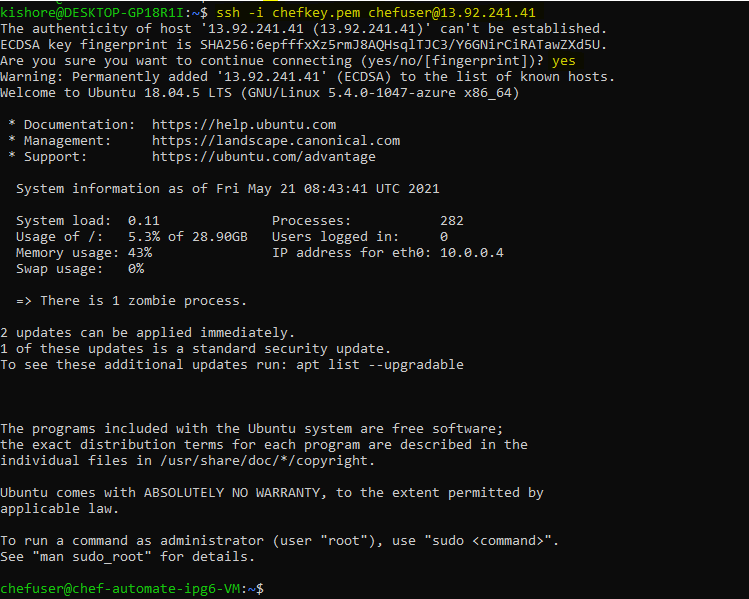
Get your Chef Automate URL and login credentials from the command line:
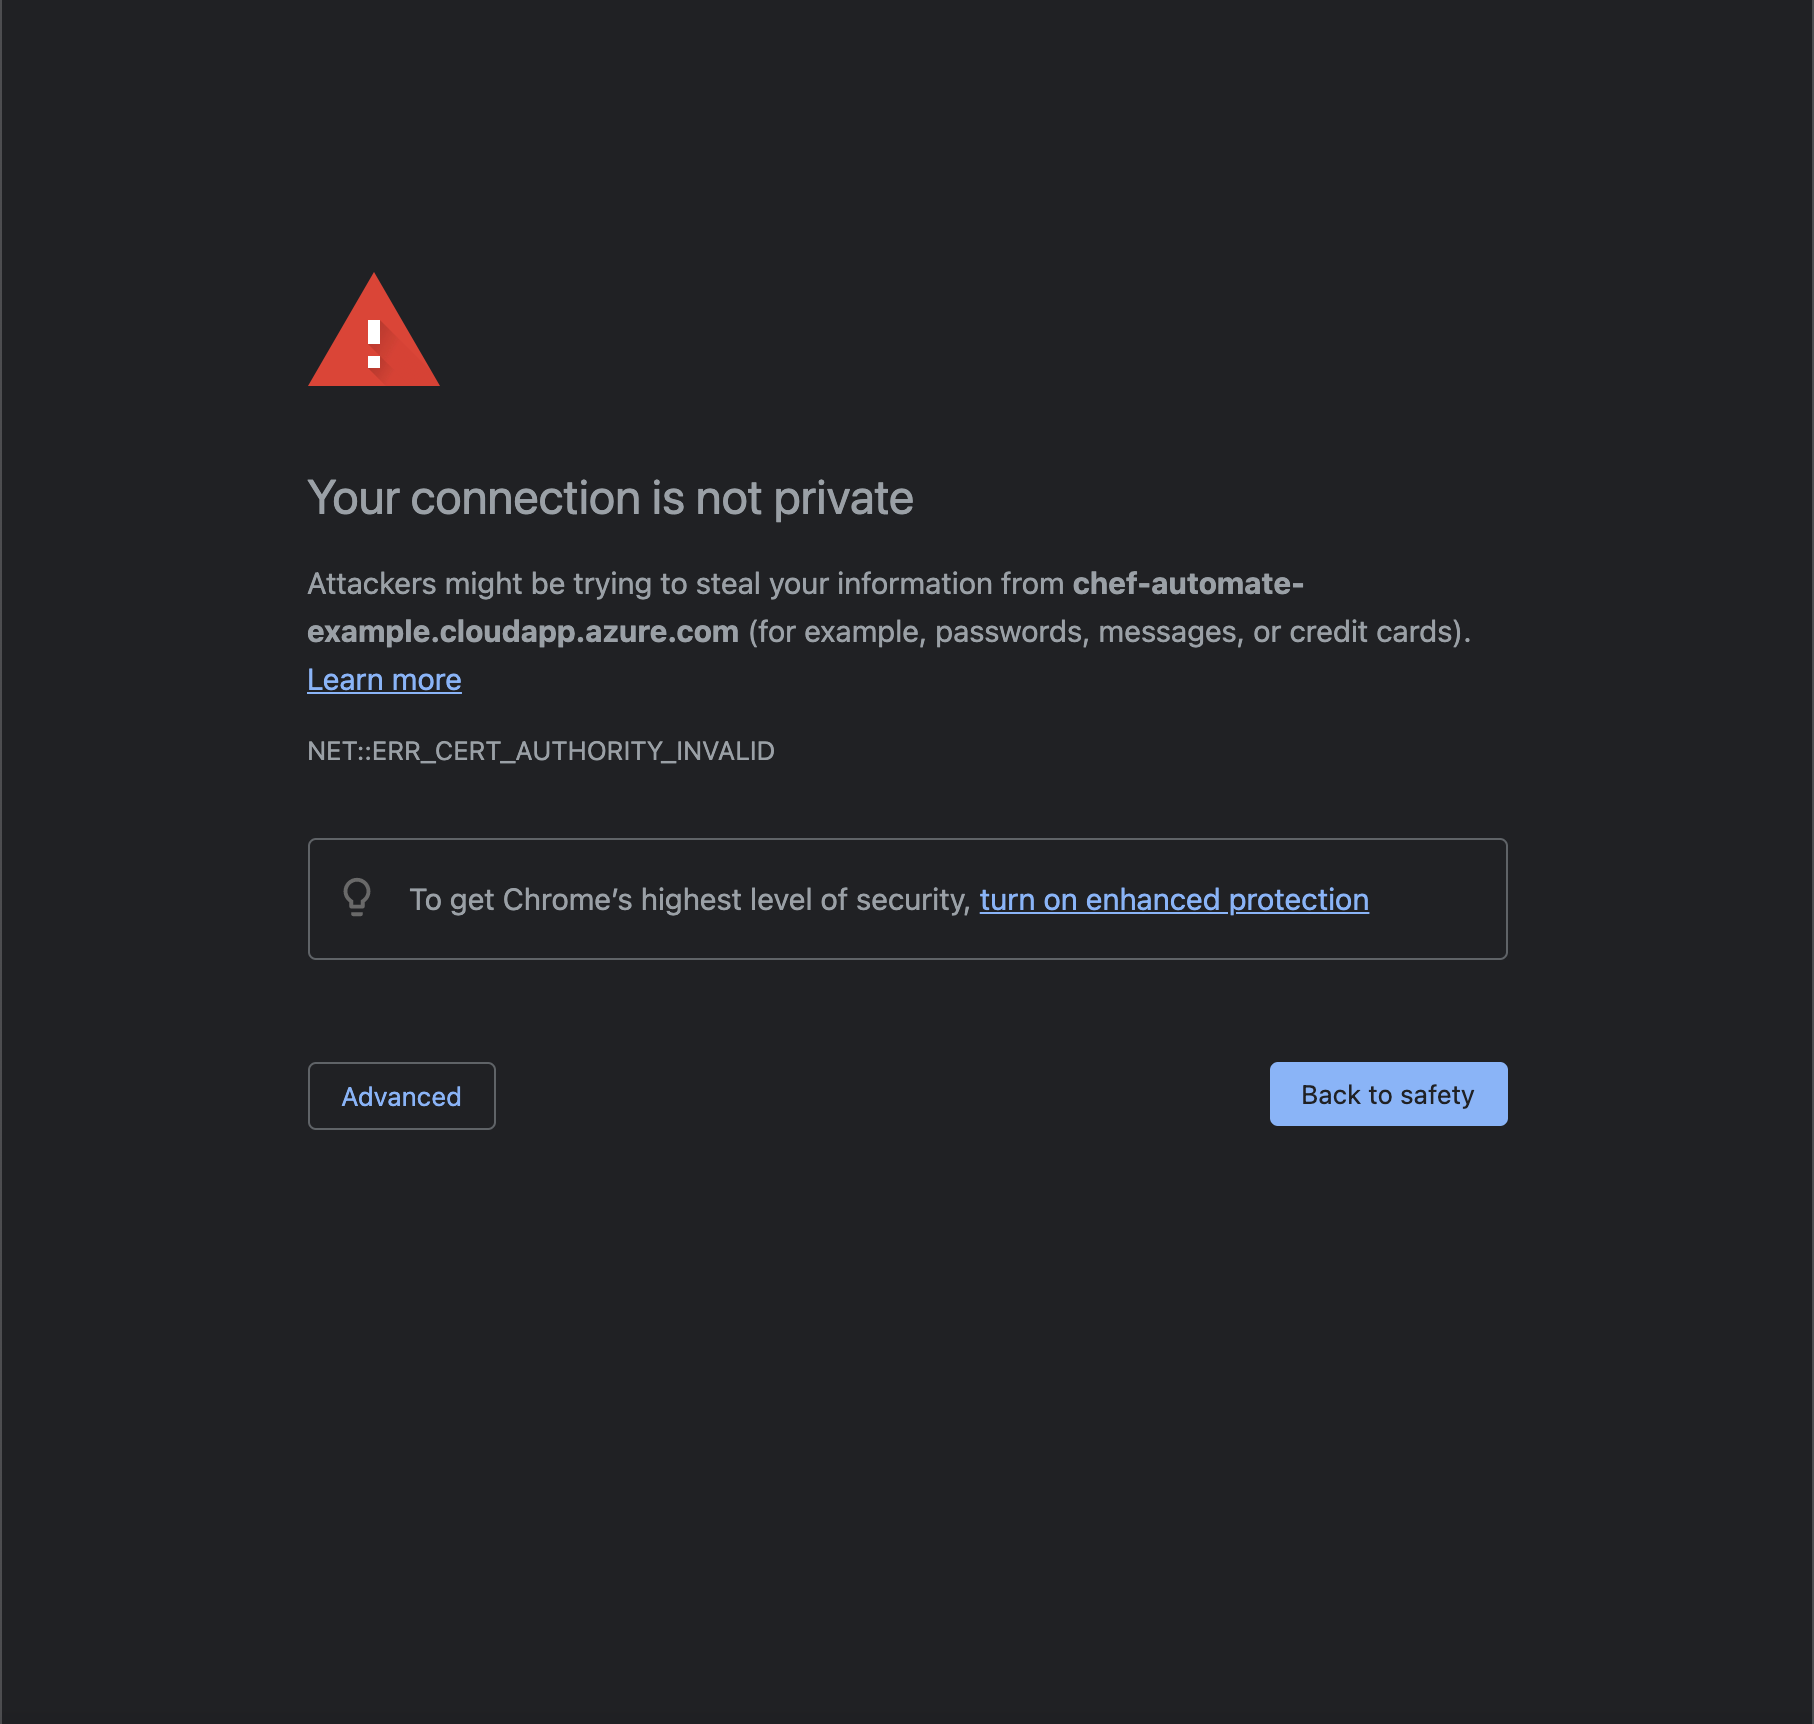
sudo cat /root/automate-credentials.tomlWhich returns something like:
url = "https://chef-automate-example.eastus.cloudapp.azure.com"
username = "admin"
password = "EXAMPLE1234567890abcdefghijklmno"
Open your favorite browser and Access the Chef Automate URL and Select Advanced and continue as shown below:
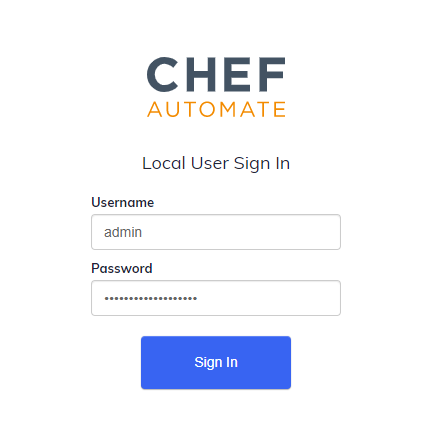
Enter your username, password and select Sign In to Access Chef Automate WebUI.
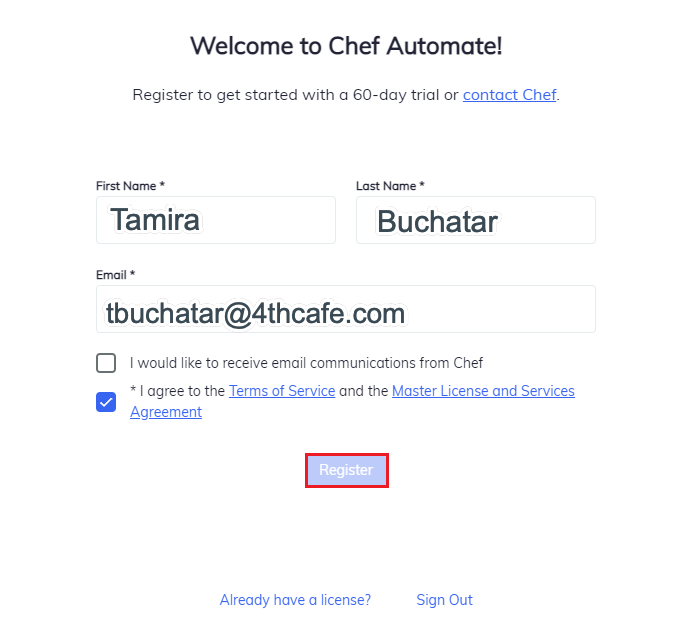
Enter your name and email address, accept the Chef license, and then select Register.
Congratulations! You’re ready to explore Chef Automate!