Manage Client Keys

Warning
Chef Manage is deprecated and no longer under active development. It’s supported on Chef Automate installations up to version 1.8 and replaced by Chef Automate 2.0. Contact your Chef account representative for information about upgrading your system. See our Automate documentation to learn more about Chef Automate 2.
This document is no longer maintained.
Note
A client is an actor that has permission to access the Chef Infra Server. A client is most often a node (on which the Chef Infra Client runs), but is also a workstation (on which knife runs), or some other machine that’s configured to use the Chef Infra Server API. Each request to the Chef Infra Server that’s made by a client uses a private key for authentication that must be authorized by the public key on the Chef Infra Server.
Use the Chef management console to create a key pair, download the private key, and then set permissions, to delete a key, or to reset a key.
Manage Client Keys
Client keys can be managed from the Chef management console.
Warning
Add
To add a client key:
Open the Chef management console.
Click Policy.
Click Clients.
Click Create.
In the Create Client dialog box, enter the name of the client key.
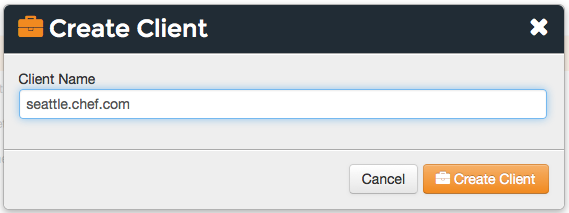
Click Create Client.
Copy the private key:
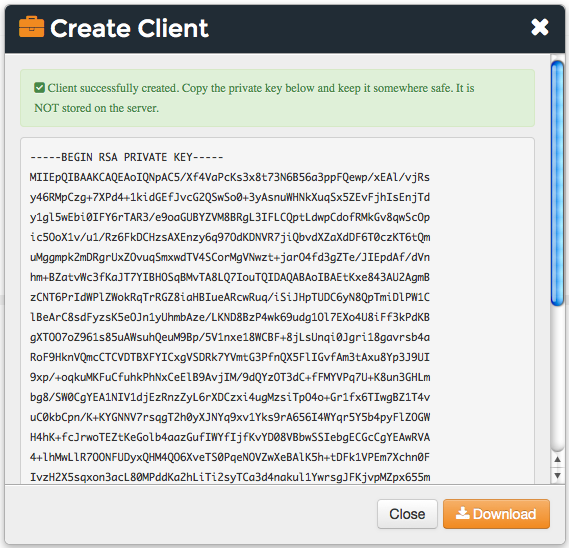
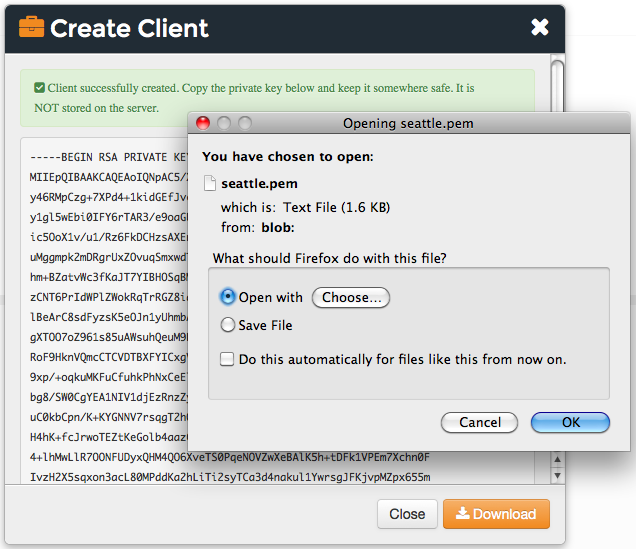
or download and save the private key locally:
Delete
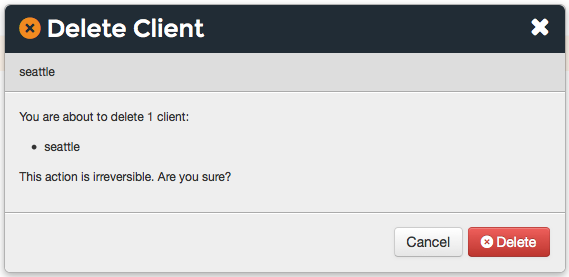
To delete a client key:
Open the Chef management console.
Click Policy.
Click Clients.
Select a client key.
Click Delete.
Reset Key
To regenerate a client key:
Open the Chef management console.
Click Policy.
Click Clients.
Select a client key.
Click the Details tab.
Click Reset Key.
In the Reset Key dialog box, confirm that the key should be regenerated and click the Reset Key button:
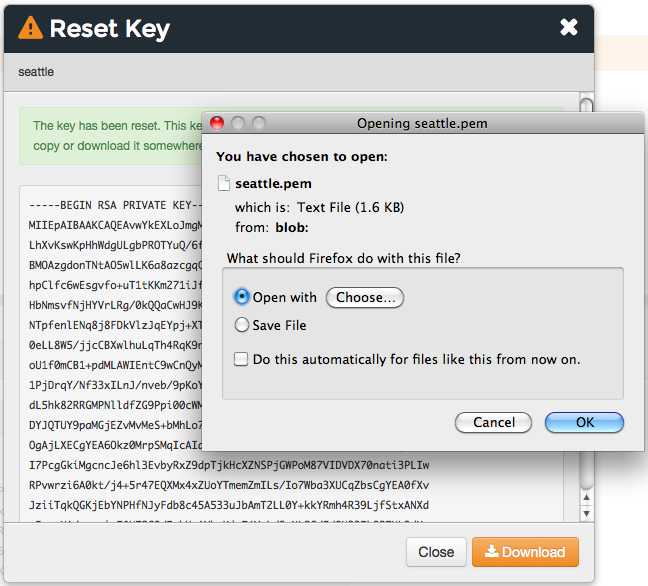
Copy the private key:
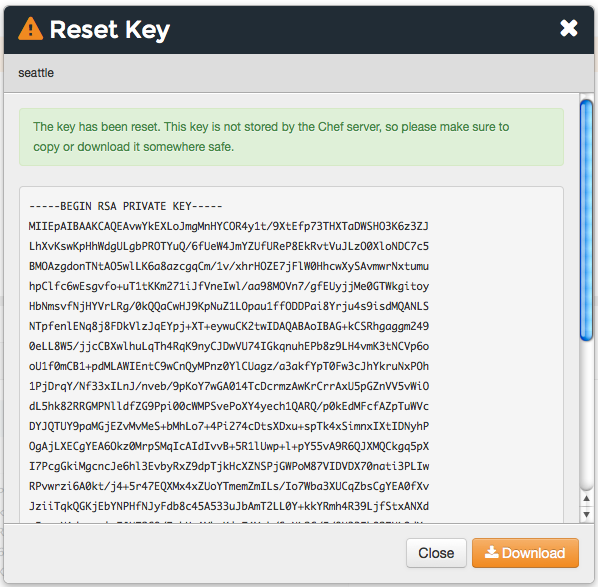
or download and save the private key locally:
View Details
To view client key details:
- Open the Chef management console.
- Click Policy.
- Click Clients.
- Select a client key.
- Click the Details tab.
Permissions
Permissions are used in the Chef Infra Server to define how users and groups can interact with objects on the server. Permissions are configured for each organization.Chef Infra Server includes the following object permissions:
| Permission | Description |
|---|---|
| Delete | Use the Delete permission to define which users and groups may delete an object. This permission is required for any user who uses the knife [object] delete [object_name] argument to interact with objects on the Chef Infra Server. |
| Grant | Use the Grant permission to define which users and groups may configure permissions on an object. This permission is required for any user who configures permissions using the Administration tab in the Chef management console. |
| Read | Use the Read permission to define which users and groups may view the details of an object. This permission is required for any user who uses the knife [object] show [object_name] argument to interact with objects on the Chef Infra Server. |
| Update | Use the Update permission to define which users and groups may edit the details of an object. This permission is required for any user who uses the knife [object] edit [object_name] argument to interact with objects on the Chef Infra Server and for any Chef Infra Client to save node data to the Chef Infra Server at the conclusion of a Chef Infra Client run. |
Set
To set permissions list for a client key:
- Open the Chef management console.
- Click Policy.
- Click Clients.
- Select a client key.
- Click the Permissions tab.
- For each group listed under Name, select or de-select the Read, Update, Delete, and Grant permissions.
Update
To update the permissions list for a client key:
- Open the Chef management console.
- Click Policy.
- Click Clients.
- Select a client key.
- Click the Permissions tab.
- Click the + Add button and enter the name of the user or group to be added.
- Select or de-select Read, Update, Delete, and Grant to update the permissions list for the user or group.
View
To view permissions for a client key:
- Open the Chef management console.
- Click Policy.
- Click Clients.
- Select a client key.
- Click the Permissions tab.
- Set the appropriate permissions: Delete, Grant, Read, and/or Update.
chef-validator Keys
Every request made by Chef Infra Client to the Chef Infra Server must be an authenticated request using the Chef Infra Server API and a private key. When Chef Infra Client makes a request to the Chef Infra Server, Chef Infra Client authenticates each request using a private key located in/etc/chef/client.pem.The private key doesn’t yet exist the first time that Chef Infra Client runs from a new node.
During the first Chef Infra Client run:
- Chef Infra Client uses the chef-validator private key, located in
/etc/chef/validation.pemto register with Chef Infra Server - Chef Infra Server assigns Chef Infra Client a private key for all future authentication requests to the Chef Infra Server
- Chef Infra Client saves the private key on the node as
/etc/chef/client.pem
If the request to communicate with Chef Infra Server with the chef-validator key fails, then the entire first Chef Infra Client run fails.
After the first completed Chef Infra Client run, delete the chef-validator private key at /etc/chef/validation.pem
Add
To add a chef-validator key:
Open the Chef management console.
Click Policy.
Click Clients.
Click Create.
In the Create Client dialog box, enter the name of the chef-validator key.
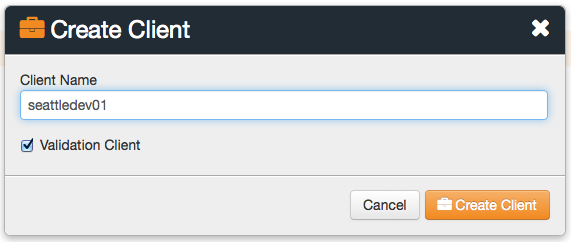
Select the Validation Client option. Click Create Client.
Copy the private key:
or download and save the private key locally:
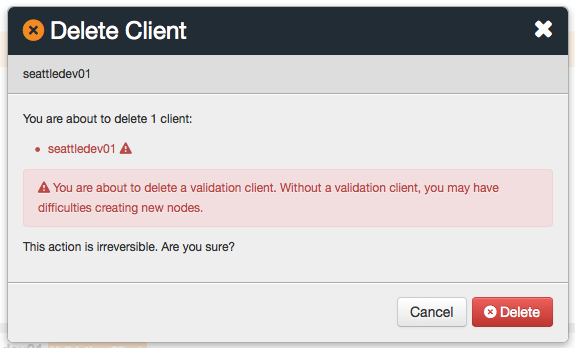
Delete
To delete a chef-validator key:
Open the Chef management console.
Click Policy.
Click Clients.
Select a chef-validator key.
Click Delete.
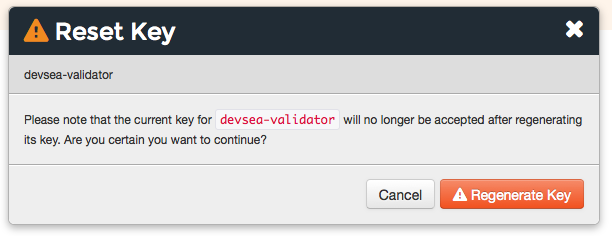
Reset Key
To reset a chef-validator key:
Open the Chef management console.
Click Policy.
Click Clients.
Select a chef-validator key.
Click the Details tab.
Click Reset Key.
In the Reset Key dialog box, confirm that the key should be regenerated and click the Reset Key button:
Copy the private key:
or download and save the private key locally:
View Details
To view details for a chef-validator key:
Open the Chef management console.
Click Policy.
Click Clients.
Select a chef-validator key.
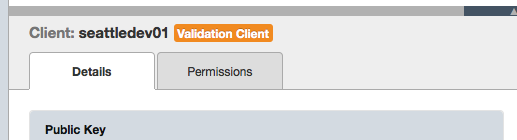
Click the Details tab.
Permissions
Permissions are used in the Chef Infra Server to define how users and groups can interact with objects on the server. Permissions are configured for each organization.Chef Infra Server includes the following object permissions:
| Permission | Description |
|---|---|
| Delete | Use the Delete permission to define which users and groups may delete an object. This permission is required for any user who uses the knife [object] delete [object_name] argument to interact with objects on the Chef Infra Server. |
| Grant | Use the Grant permission to define which users and groups may configure permissions on an object. This permission is required for any user who configures permissions using the Administration tab in the Chef management console. |
| Read | Use the Read permission to define which users and groups may view the details of an object. This permission is required for any user who uses the knife [object] show [object_name] argument to interact with objects on the Chef Infra Server. |
| Update | Use the Update permission to define which users and groups may edit the details of an object. This permission is required for any user who uses the knife [object] edit [object_name] argument to interact with objects on the Chef Infra Server and for any Chef Infra Client to save node data to the Chef Infra Server at the conclusion of a Chef Infra Client run. |
Set
To update the permissions list for a chef-validator key:
- Open the Chef management console.
- Click Policy.
- Click Clients.
- Select a chef-validator key.
- Click the Permissions tab.
- Click the + Add button and enter the name of the user or group to be added.
- Select or de-select Delete, Grant, Read, and/or Update to update the permissions list for the user or group.
Update
To update the permissions list for a client key:
- Open the Chef management console.
- Click Policy.
- Click Clients.
- Select a client key.
- Click the Permissions tab.
- Click the + Add button and enter the name of the user or group to be added.
- Select or de-select Read, Update, Delete, and Grant to update the permissions list for the user or group.
View
To view permissions for a chef-validator key:
- Open the Chef management console.
- Click Policy.
- Click Clients.
- Select a chef-validator key.
- Click the Permissions tab.
- Set the appropriate permissions: Delete, Grant, Read, and/or Update.